Getting started with Pascal Screening
Everything you need to know to start using Pascal Screening.
- General navigation
- How to create your Pascal account
- Pascal via Microsoft Azure Marketplace
- How to create and resolve your first case
- How to change your account's settings
- How to login to Pascal
- How to logout of Pascal
- How to set up your Pascal account
General navigation
This documentation, including images, videos and text, is accurate as of Version 5.12 of Pascal.
We strive to keep our documentation up to date with each release to ensure it remains a reliable resource for our users. However, given the dynamic nature of our software development, there might be instances where changes introduced in subsequent versions are not immediately reflected in this documentation. We encourage users to refer to the latest release notes and to use the feedback mechanism for any discrepancies or requests for clarification.
The top bar
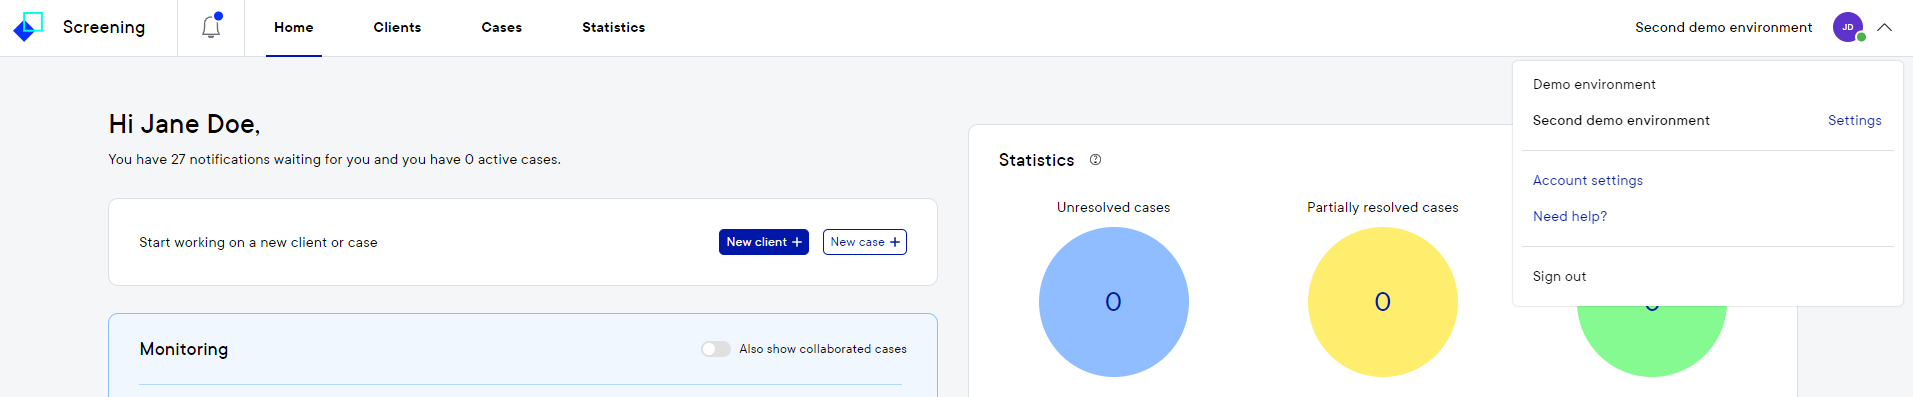
The top bar is used to navigate to the different pages within Pascal. The main pages include Home, Clients, Cases, and Statistics. The user icon can be used to log-out of Pascal, and navigate to pages related to user experience and settings, which include Need help?, Account settings, and Settings.
Pages
Pascal automatically opens on the Home page which provides an overview of cases that are being monitored, recent cases, and recent statistics. From here, the user can also navigate to these monitored and recent cases or create a new case or client.
The Clients page contains an overview of all clients that have been created within your Pascal environment. This overview provides insight into the number of cases within the client, the risk associated with the client, and the percentage of resolved hits. From there the user can open the clients to continue working on them.
The Cases page provides and overview of all cases that have been created within your Pascal environment. This overview shows the clients that are linked to the case, the percentage of resolved hits, the risk associated with the case, and the assigned employee. From here the user can access the cases they are allowed to see.
Some of the statistic pages might not be visible, depending on your role in the environment.
The Statistics page consists of five tabs, which are Unresolved status, Team activity, Case characteristics, Reports, and Monitoring, respectively.
- Resolvement - insights into unresolved work in Pascal.
- Activity - insights into team and user activities in Pascal.
- Cases - insight into case characteristics in Pascal.
- Reports - an overview of all reports that have been generated by a user in the last 90 days.
- Monitoring - an overview all monitoring activities and their results.
Settings
Settings affecting the whole environment, can be found by clicking on the user icon, and selecting Settings next to the environment name.
Some settings may not be visible, depending on your role in the environment.
The Organisation section gives you the possibility to view and edit certain settings of your environment.
- Profile - overview of environment information such as details, address and security settings.
- Users - overview of all users within an environment, with the option to edit existing users or invite new users.
- Groups - overview of all groups within an environment, with the option to edit existing groups or create new groups.
- Services - adjust settings related to available services.
- Integrations - adjust settings related to Microsoft Azure and HubSpot integration.
- Risk Classification - adjust settings related to risk of hits.
- Import users - bulk importing of users.
The Screening section gives you the possibility to view and edit certain settings related to Pascal's screening capabilities.
- Policies - adjust settings related to search policies.
- Case workflow - adjust settings related to required comments while resolving and updates in resolved hits.
- Import cases - bulk importing of cases.
The Billing section gives you the possibility to view and edit billing related settings.
- Billing details - overview of billing information, such as the billing address, active plan and current usage.
- Payment methods - ability to view and adjust payment methods added to Pascal.
- Invoices - list of past invoices with their corresponding status and the ability to download them.
- Notifications - settings related to receiving notifications about invoices and more.
The Data Directory page gives you the possibility to add your own data to all sources that are currently in Pascal. This page is only visible to environment's owners and admins.
Account settings
Settings related to your own account, can be found by clicking on the user icon, and selecting Account settings,
- Account - overview of the user account and past sessions.
- API tokens - option to add API tokens for your account.
- Configuration - adjust settings related to the user experience.
- Languages - adjust settings related to the interface and translation of foreign languages.
The notifications icon
The bell icon in the top bar opens the Notifications panel, which is divided into two sections. The first section shows any items that require immediate action, such as expired passports and monitored cases with new or updated hits. The second section contains received messages.
The bell icon will have a red dot attached to it if there is an item with a high risk hit which requires immediate action. The bell icon will have a blue dot attached if there is an item which requires immediate action, but this item does not have a high risk hit.
Need help?
The Need help? option in the user icon menu, directs the user to the Support panel. In this panel the user can find links to Pascal’s product documentation and tutorials. From here, the user can also contact Pascal’s support team through live chat or email. Finally, this panel allows the user to submit malfunction reports, data coverage issues, and feature requests.
How to create your Pascal account
This documentation, including images, videos and text, is accurate as of Version 5.12 of Pascal.
We strive to keep our documentation up to date with each release to ensure it remains a reliable resource for our users. However, given the dynamic nature of our software development, there might be instances where changes introduced in subsequent versions are not immediately reflected in this documentation. We encourage users to refer to the latest release notes and to use the feedback mechanism for any discrepancies or requests for clarification.
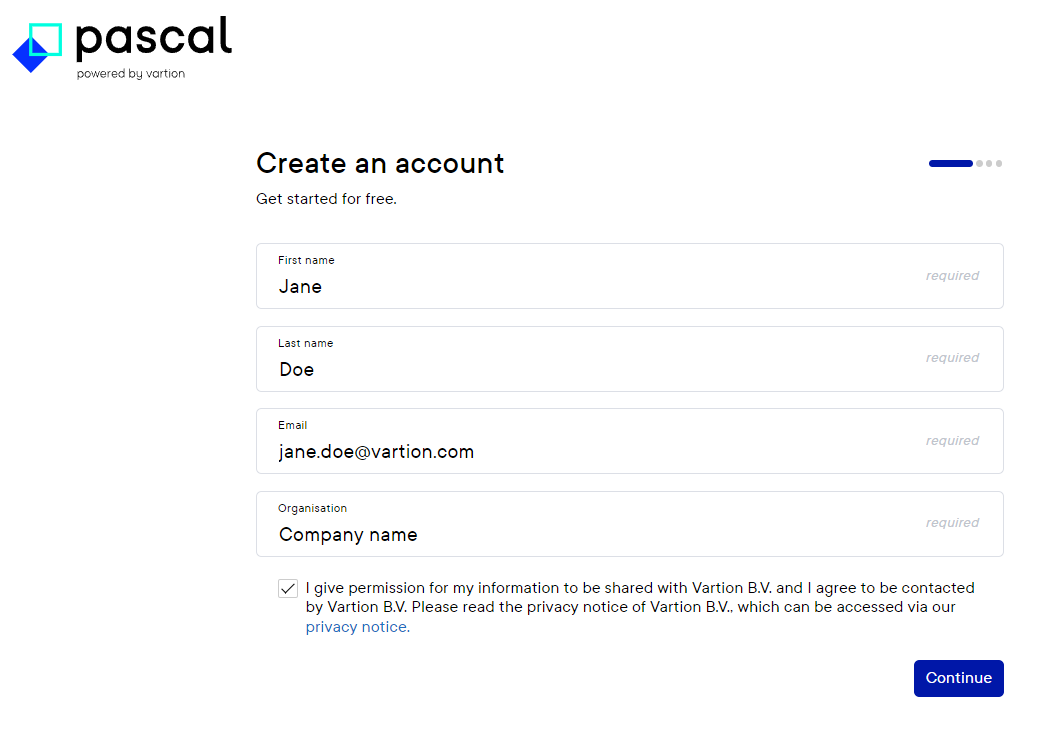
A free or paid Pascal account can be created from the Pascal login page, by pressing the Create account text below the login option.

When selecting this option, a form appears on the screen to create an account.

After filling in the information required, and reading and agreeing to the terms of service, the Continue button can be used to continue signing up.
You are then presented with the option to choose the Free or Pay as you go plan, where the differences are summed up.
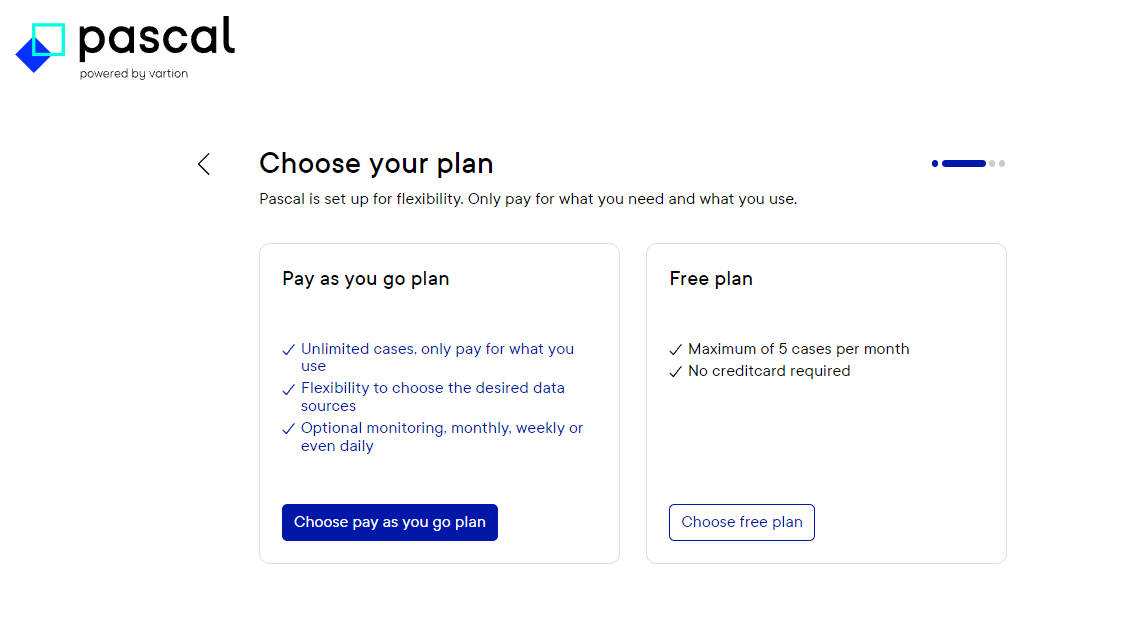
After selecting either Choose pay as you go plan or Choose free plan, the next page will give you the option to select your desired datasets:
- Sanctions
- Enforcements
- Politically Exposed Persons
- Media
- Business
- Other
After selecting a dataset, there is the option to customise the dataset in more specific databases.

After you have selected all the datasets you would like to use in Pascal, the Continue button at the bottom right corner will take you to the next page.
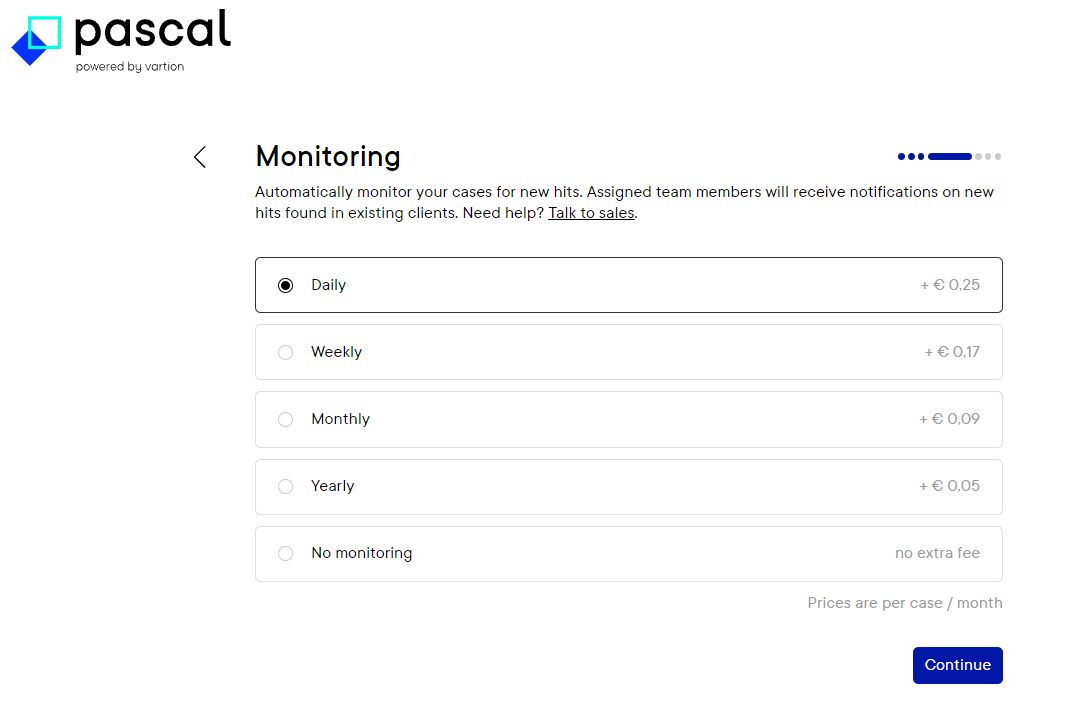
If you have chosen for a Free plan, your next and final page will be the Order summary. When creating a Pay as you go account, the next page will ask in what frequency you would like Monitoring to happen.
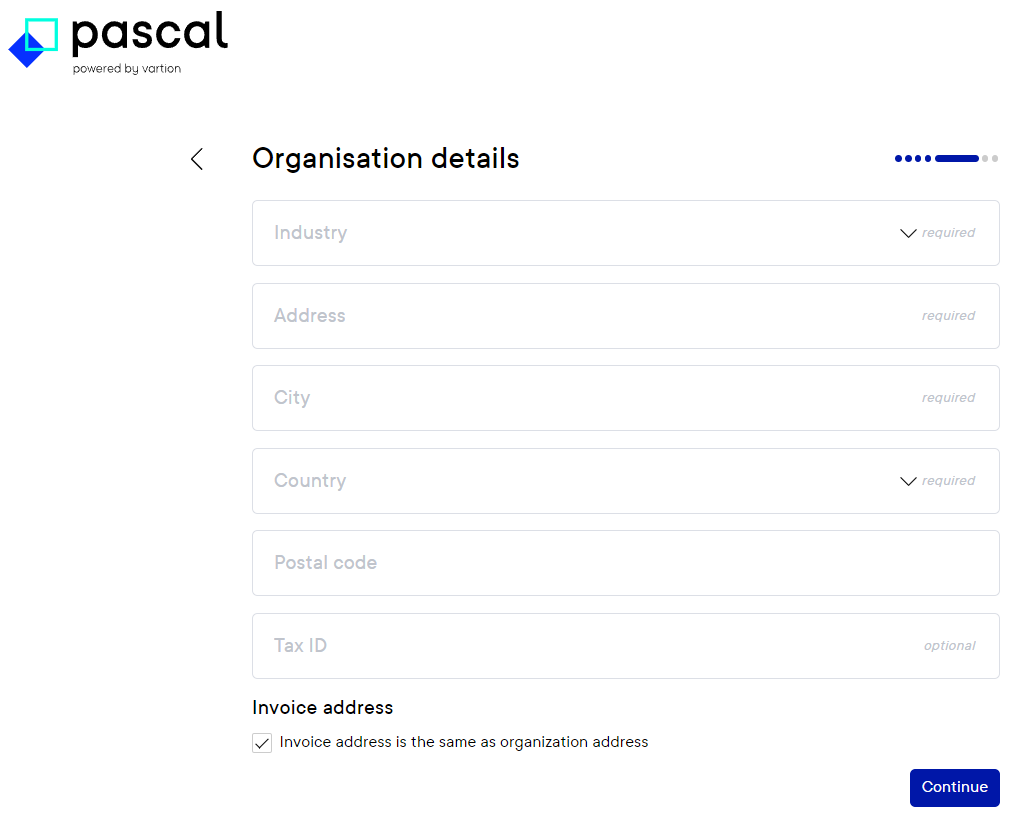
After selecting the frequency of monitoring, you will be asked to fill in you Billing details and to add a Payment method.
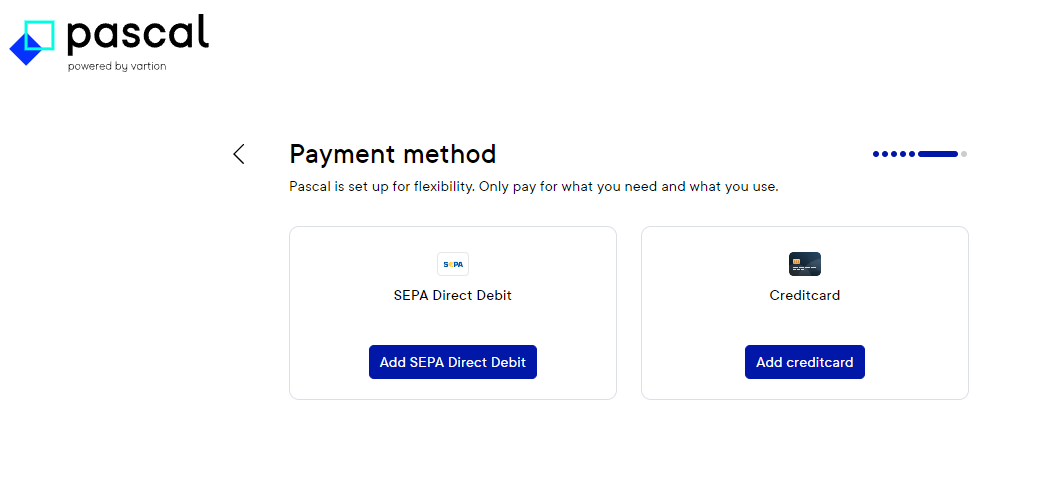
After this information is provided as well, an order summary will be given to summarise your chosen configuration.
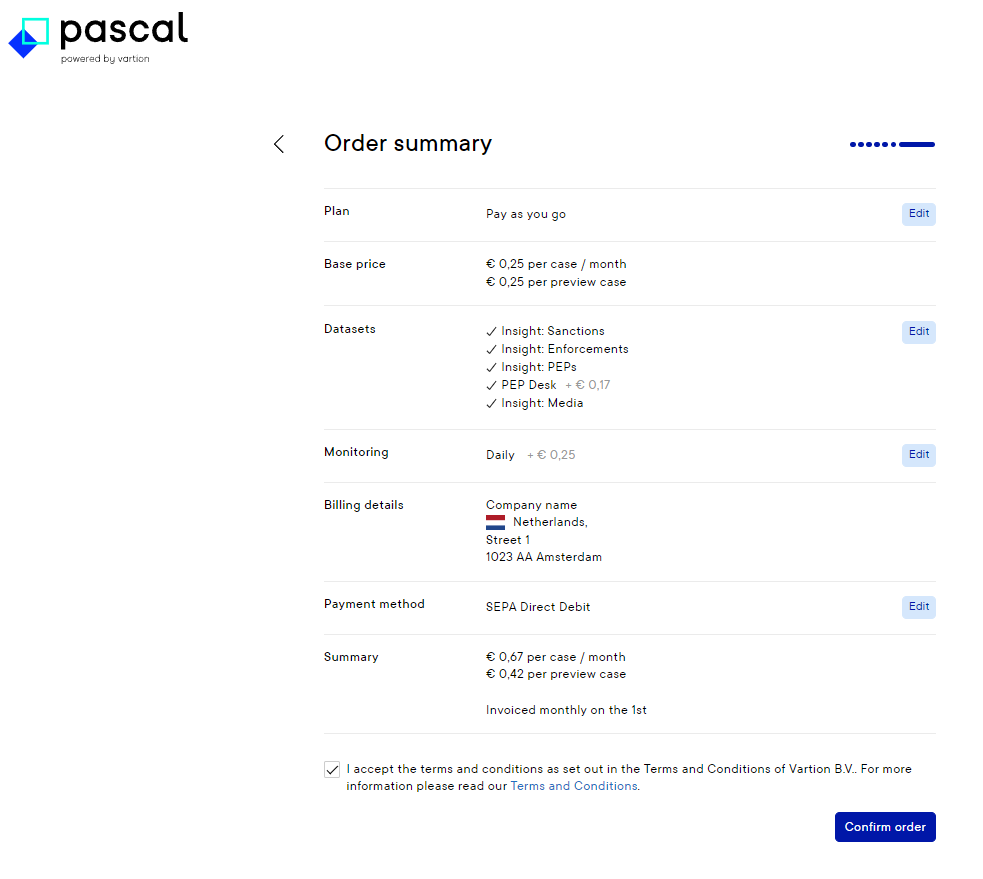
After you have selected the button Confirm order, an email is send to the email address provided with instructions on how to create your account. If you already have an account, no email is send. Your previous login credentials can be used to log in to the application at https://app.pascal.vartion.com/ and a new environment will be present at the top of your screen.
Pascal via Microsoft Azure Marketplace
This documentation, including images, videos and text, is accurate as of Version 5.12 of Pascal.
We strive to keep our documentation up to date with each release to ensure it remains a reliable resource for our users. However, given the dynamic nature of our software development, there might be instances where changes introduced in subsequent versions are not immediately reflected in this documentation. We encourage users to refer to the latest release notes and to use the feedback mechanism for any discrepancies or requests for clarification.
If you have received access to Pascal via the Microsoft Azure Marketplace, your Pascal environment will work slightly different than environments which are not linked to the Microsoft Azure Marketplace.
The Billing page
The Billing pages can be used to edit your current plan, view your past invoices and update your payment methods if you have a paid subscription. Editing your plan enables you to change the datasets you are using and which monitoring frequency you would like to use in Pascal.
Changing the monitoring frequency of your plan in the Billing details page is only possible in a paid environment.
If you would like to view your current costs, change your invoicing settings or upgrade your plan, the subscription page of Pascal in your Microsoft Azure environment should be used.

Editing the subscription in Microsoft Azure
By going to the subscription page of Pascal in Microsoft Azure, you can upgrade your plan from a free to a paid subscription. It is also possible to view the billing.
It is not possible to continue using Pascal with recurring billing turned off. If recurring billing is turned off, your Pascal environment will be deleted when the current billing term ends.
It is not possible to change a paid subscription to free.
How to create and resolve your first case
This documentation, including images, videos and text, is accurate as of Version 5.6 of Pascal.
We strive to keep our documentation up to date with each release to ensure it remains a reliable resource for our users. However, given the dynamic nature of our software development, there might be instances where changes introduced in subsequent versions are not immediately reflected in this documentation. We encourage users to refer to the latest release notes and to use the feedback mechanism for any discrepancies or requests for clarification.
Pascal assist with Know Your Customer (KYC) and Customer Due Diligence (CDD) requirements by searching a wide range of sources for information about an entity. This information is gathered in a case.
Create a case
There are two ways to create a case: through the Home page or through the Cases page.
- Go to the Home or Cases page.
- Select the New case button.
- This will open a side dialogue.
- Select whether a Person or Business case should be created.
- Fill in all available information. We recommend filling in as much information as possible, as this will decrease the likelihood of false positive hits. See the section Case information below for more details on the fields.
- In the case of a Person case, a passport can be uploaded which will automatically fill in the fields that are present on the passport.
- Select the Create case button.
A new case has now been created.
If a case already exists with the exact same input, the user will receive a notification that a duplicate case already exists. The user can then decide the view the duplicate case(s) or to create a new case.
Case information
The following fields are available while creating a Person case. Required fields are indicated with an asterisk.
- Name*: the name of the person of interest.
- Aliases: name variants or aliases of the person.
- Nationalities: the nationality of the person.
- Date of birth: the date of birth of the person.
- Country of birth: the country of birth of the person.
- Country of residence: the country of residence of the person.
- Additional terms: any terms that are known to be associated with the person of interest. This term will be searched in all the fields of a hit.
- Gender*: the gender of the person.
- Client: the client to which the case should be linked.
- Confidence*: determines if the found hits should be an exact match or if they can also be a relative (partial) match. We recommend relative matches.
The following fields are available while creating a Business case. Required fields are indicated with an asterisk.
- Name*: the name of the business of interest.
- Aliases: name variants or aliases of the business.
- Country: the country of the business.
- Company number: the company number of the business.
- Address: the address of the business.
- Additional terms: any terms that are known to be associated with the business of interest. This term will be searched in all the fields of a hit.
- Client: the client to which the case should be linked.
- Confidence*: determines if the found hits should be an exact match or if they can also be a relative (partial) match. We recommend relative matches.
The following fields are available while creating a Asset case. Required fields are indicated with an asterisk.
-
Name*: the name of the asset you would like to search.
-
Aliases: variants of the asset's name can be filled in here.
-
Nationalities: the nationality or nationalities of the asset.
-
Identifier: the identifier of the asset.
-
Type: the type of the asset. Either Vessel or Aircraft.
-
Additional terms: any terms that are known to be associated with the asset of interest. This term will be searched in all the fields of a hit.
-
Clients: the client to which the case should be linked.
-
Confidence*: determines if the found hits should be an exact match or if they can also be a relative (partial) match. We recommend relative matches.
The case
Upon creation of a new case, the user will be taken to the main page of the case. This page is divided into seven sections which each provide information related to the case.
- The Resolving section shows the six sources that have been searched and how many hits have been found and resolved. The six sources that are searched by Pascal are:
- Sanctions: hits of entities which have a disciplinary action taken against them for disobeying the law.
- Enforcements: hits of entities which are an on law or regulatory enforcements and watchlists.
- PEPs: hits of entities which are considered politically exposed persons.
- Business Sources: hits of entities which are a company, or which are associated with a company.
- Media Sources: hits of entities which are mentioned within a media article.
- Other Sources: hits of entities which do not match any of the above sources
- The Risk section shows the overall risk of the case, which correlates to the highest risk in the included hits. Risk should be enabled in Services for this information to be shown.
- The Linked clients section provides an overview of the clients this case is linked to.
- The Audit section shows actions that have been taken for this case and thereby serves as an audit trail.
- The Case section provides general information on the case and the people involved.
- The Monitoring section offers the opportunity to start monitoring a case and will provide additional information once a case is monitored.
- The Specification section shows all information that has been provided by the user during the creation of the case. This information may be edited at any time.
Resolving the case
Select the Start resolving button to start resolving the found hits. The sources have been ordered by the likelihood of high-risk hits. Therefore, we recommend going source by source in the order that is provided by Pascal. Sources will be greyed out and cannot be selected when no hits have been found.
Within a source, hits are sorted by confidence. The confidence score indicates how confident Pascal is that a hit matches the case information. The higher the overlap between the case information and the hit information, the higher the confidence.
The Matched names section provides information on the names that were found within that source. Further filtering can be applied by searching for specific words in the search bar. The Media source offers additional information on the hits by providing an overview of the industries, adverse events and publication year of the retrieved articles in interactable charts. For example, clicking on a publication year in the bar chart will filter the hits on that publication year.
The adverse events, negative events and industries are classified by Pascal in articles written in our 11 supported languages (English, Spanish, German, Italian, Frensh, Russian, Turkish, Portuguese, Arabic, Romanian and Dutch). Settings regarding which type of media you would like to search on, can be found in the Screening Settings in the Policies tab.
A hit can be expanded to view all information that is available for that hit. Pascal also offers an explanation as to why a hit was considered a match. Based on the information of a hit it can be decided if a hit is a true positive or a false positive, and should therefore be included or excluded, respectively. We recommend including all hits that relate to the user’s client, even if the hit does not add any risk to a case. All other hits should be excluded.
A hit can be included or excluded by:
- Clicking the checkmark or cross on the left side of the hit, to include or exclude a hit, respectively.
- Checking the checkbox on the right side of the hit and selecting Include or Exclude on the bottom of the page. This option can also be used to resolve multiple hits at once.
- Left clicking on a hit and choosing to include or exclude all (selected) entries.
A comment can be attached to a hit when resolving. Adding a comment to each hit might be required if it is specified in the Policies. The include and exclude buttons are then replaced by a comment button in the resolve column of the table. Only once a comment has been provided, can a hit be included or excluded.
If the Risk service is enabled in Services, Pascal will provide a risk score for each hit. This risk indicates how high the risk is that is associated with each hit. The default risk scoring can be changed by an organisation owner or admin in the Risk tab in Settings. If a user determines that the calculated risk is not accurate, they can override the initial risk of a hit by populating the Modify risk field with the desired risk.
Pascal assists in the resolving process by offering Implicit Feedback. This is a service that can be enabled in Services. Implicit Feedback learns from the hits that have already been resolved and will adjust the confidence level of an unresolved hit accordingly. The confidence will increase if an unresolved hit has large overlap with hits that are already included, and the confidence will decrease if an unresolved hit has large overlap with hits that are already excluded. The original confidence will remain within the bar, while the adjusted confidence will be indicated with markers on top of the confidence bar. Implicit Feedback thereby creates more clarity for the user to understand if a hit is a true positive or a false positive.
Once all hits have been resolved the user will be offered to Start monitoring or Archive the case. Monitoring a case will ensure that the sources of a case are searched for new hits at the specified frequency. A case should be monitored if it is important to remain up to date with new information that might be published about the entity. If monitoring is not required, we recommend archiving the case as this will show that the work on the case has been completed.
Resolved cases can be found and open from the Cases page.
How to change your account's settings
This documentation, including images, videos and text, is accurate as of Version 5.12 of Pascal.
We strive to keep our documentation up to date with each release to ensure it remains a reliable resource for our users. However, given the dynamic nature of our software development, there might be instances where changes introduced in subsequent versions are not immediately reflected in this documentation. We encourage users to refer to the latest release notes and to use the feedback mechanism for any discrepancies or requests for clarification.
Account settings can be found by clicking on your user icon, which you can find at the top right corner of your screen.
Account
In the Account section, your profile information can be viewed and edited and your recent login sessions are visible.
API tokens
In the API tokens section, new API tokens can be created and a quick link to the API documentation can be found.
Configuration
In the Configuration section, several settings related to your preferences can be found. The configuration settings are divided into four sections: General, Interface, Monitoring and Notifications.
General
Default search confidence: The default search confidence has two options: Relative and Exact. This will modify the default option whenever making a search. The default is Relative.
Update notifications via email: Pascal sends an email notification regarding updates to the application. The default for this is Yes.
Require multi-factor authentication via email: When this is turned on a verification code is sent to the email address registered with the Pascal user account during every login on a new device or with a new IP address. The multi-factor authentication verification code will only be required once a month on IP addresses used with Pascal before and every time logging in from a new IP address. The verification code sent to the email address can only be used once.
Interface
Date format: Depending on your preference the date format can be altered.
Monitoring
Frequency of reports: Reports are made regarding your monitored cases. These can be sent daily or weekly.
Receive reports on: You can choose on which day of the week you would like to receive your report. The default is Monday
Receive reports via email: The reports of monitoring can be sent to your email, which will link you to the monitoring reports page. The default is No.
Receive reports without findings: It can occur that no new information is found within the time period of making a monitoring report. You can choose whether you still want to receive these reports. The default is No.
Notifications
Show updated hits in notifications: In monitored cases, hits can be updated which are already included or excluded. When this happens, Pascal can send you a notification about the change if you choose to. You can choose whether you want a notification of all risk changes, changes in risk levels or no notifications at all. The default is set to Don't notify.
Languages
In the Languages section, the settings are divided into two sections: Languages and Content translation.
Interface: You can change the interface language of Pascal. The default is set to English (UK).
Content translation: Changing the Translation language will change the language of the articles that are found within a case. The default is set to English.
How to login to Pascal
This documentation, including images, videos and text, is accurate as of Version 5.12 of Pascal.
We strive to keep our documentation up to date with each release to ensure it remains a reliable resource for our users. However, given the dynamic nature of our software development, there might be instances where changes introduced in subsequent versions are not immediately reflected in this documentation. We encourage users to refer to the latest release notes and to use the feedback mechanism for any discrepancies or requests for clarification.
When you go to the Pascal login page, you will see that there are multiple ways to login to Pascal.
If your organisation does not have Microsoft Azure enabled, you can login by filling in your email and password and click on the Sign in button.
If your organisation has Microsoft Azure enabled, you can simply login by selecting the Sign in with Microsoft Azure button.
How to logout of Pascal
This documentation, including images, videos and text, is accurate as of Version 5.12 of Pascal.
We strive to keep our documentation up to date with each release to ensure it remains a reliable resource for our users. However, given the dynamic nature of our software development, there might be instances where changes introduced in subsequent versions are not immediately reflected in this documentation. We encourage users to refer to the latest release notes and to use the feedback mechanism for any discrepancies or requests for clarification.
To sign out of Pascal, follow the below steps:
- Click on your Profile picture in the top right corner of the screen. This will open a menu.
- Select the Sign out button at the bottom of the menu.
Please keep in mind, you are not automatically logged out by closing the Pascal application.
How to set up your Pascal account
This documentation, including images, videos and text, is accurate as of Version 6.0 of Pascal.
We strive to keep our documentation up to date with each release to ensure it remains a reliable resource for our users. However, given the dynamic nature of our software development, there might be instances where changes introduced in subsequent versions are not immediately reflected in this documentation. We encourage users to refer to the latest release notes and to use the feedback mechanism for any discrepancies or requests for clarification.
After your account is created and you log in for the first time. Some additional settings will be presented to you, to align Pascal with your preferred configuration.
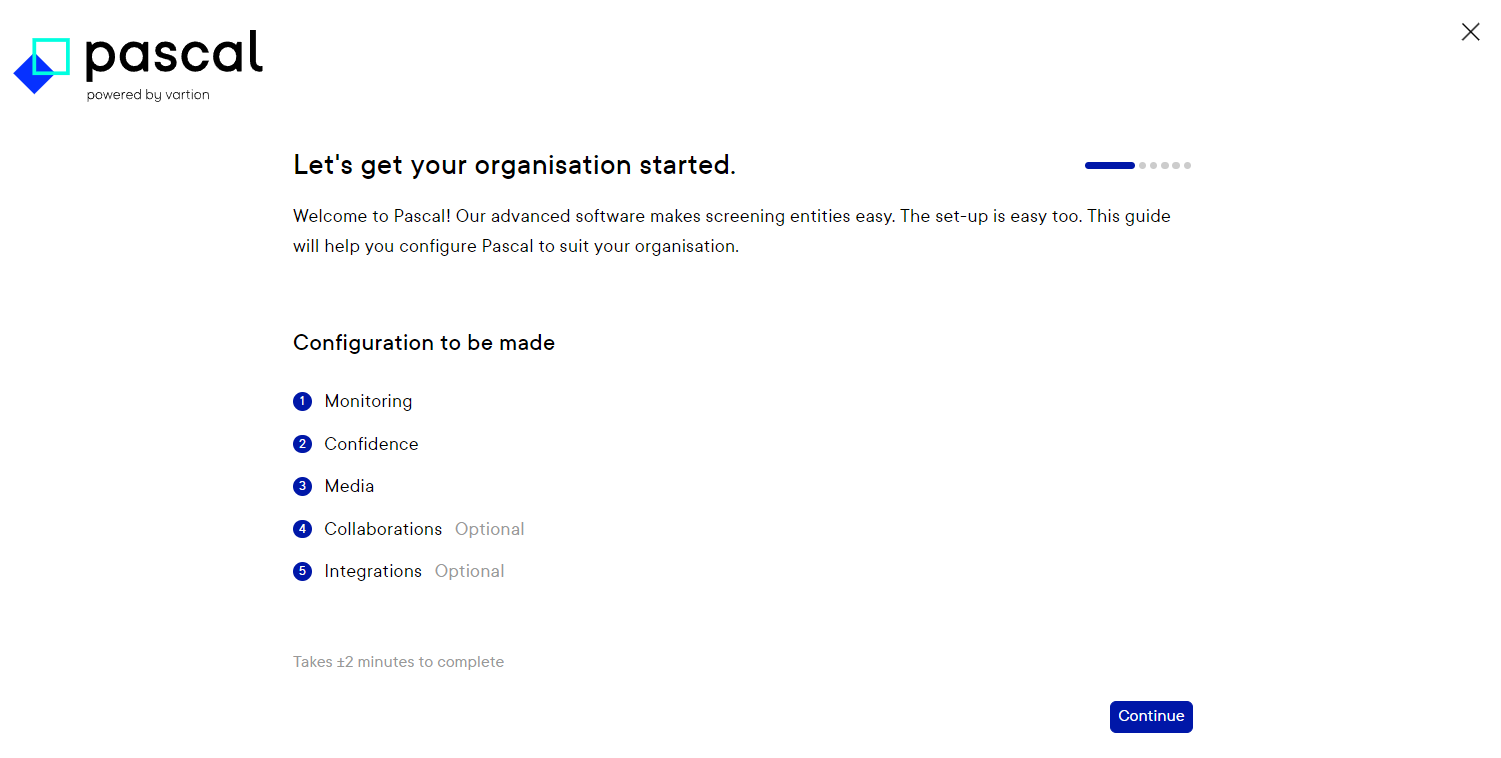
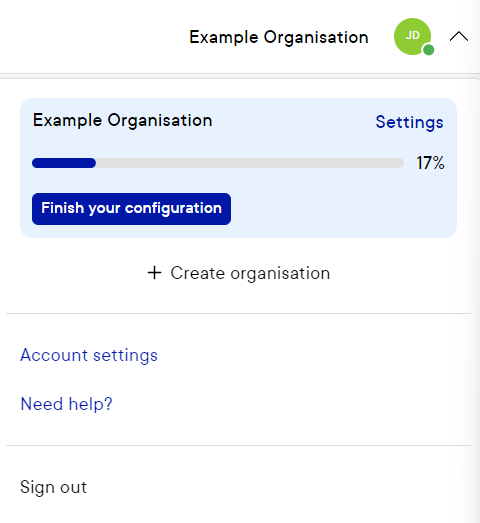
This configuration can at any time be closed, by using the cross in the top right corner. Where after it can be picked up where you left off, by clicking on your organisation name in the top right corner, and pressing Finish your configuration. Settings already configured during a previous visit, have immediately been applied to your account.
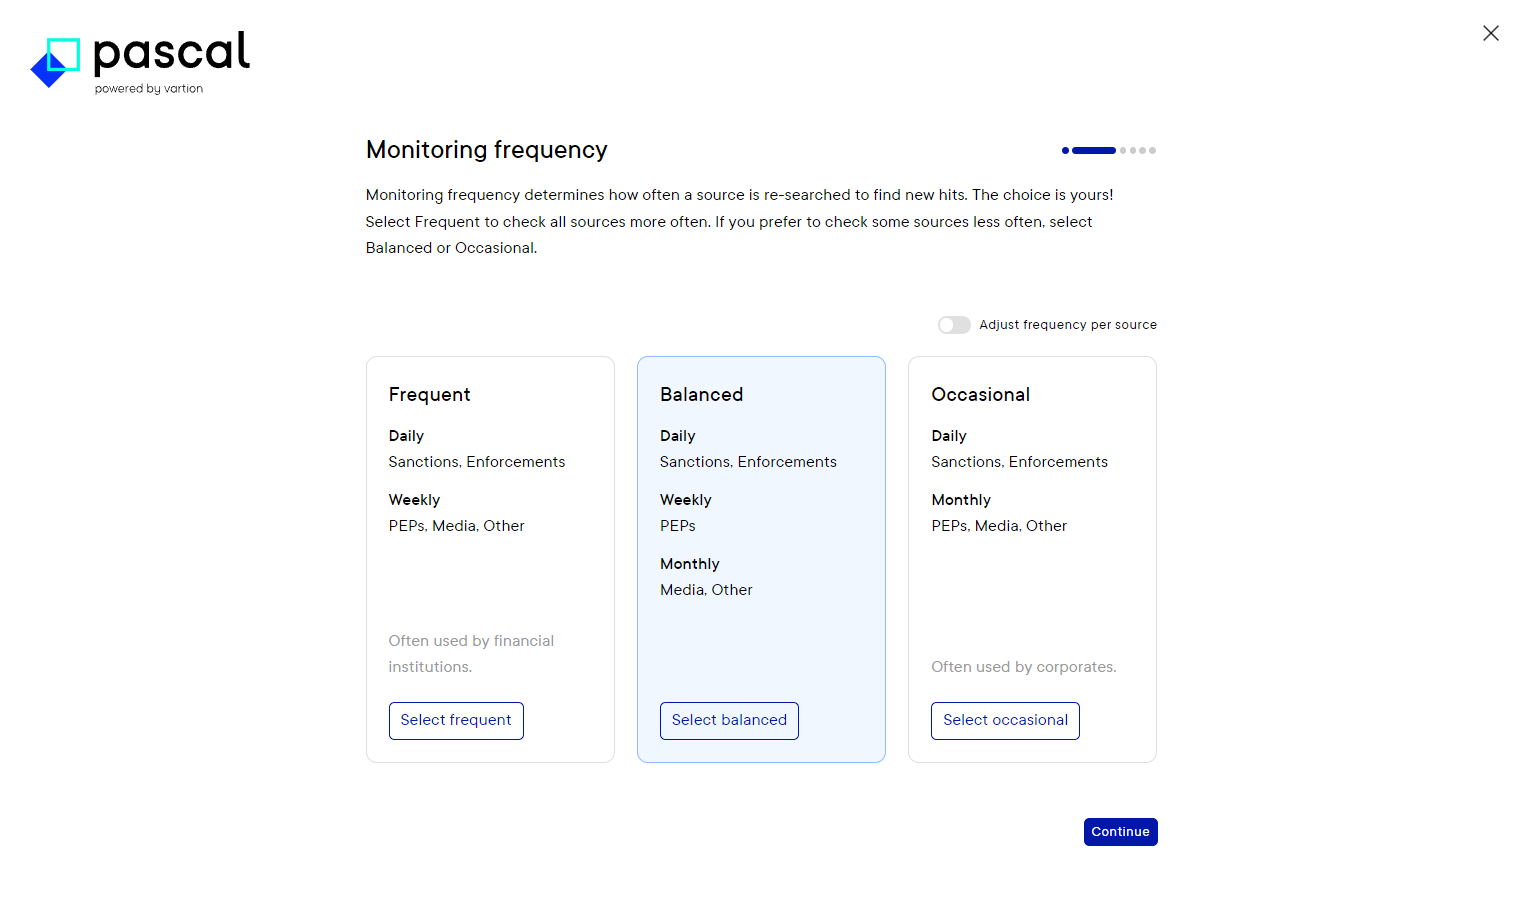
Firstly Pascal will present you with three options for monitoring screenings. By default, the option Balanced is set. Choosing the option Frequent will, compared to Balanced, search the sources Media and Other more frequently. Choosing Occasional will, compared to Balanced, search PEPs less frequent.
The frequency chosen, impacts the time in which sources of cases are searched again. Using a less frequent interval, will result in potentially finding results less prompt then a more frequent interval. However, a more frequent interval will result in potentially more results more frequent, which of course take time to evaluate.
Secondly Pascal will ask which confidence thresholds you want to maintain. By default, the option Balanced is set.
- Choosing the Permissive option allows for greater flexibility in matching the screened entity with the results. This option prioritises broader matching over precision, allowing significant spelling differences in names and aliases. As a result, it may identify partial matches even when notable discrepancies exist. Additionally, this option permits the presence of extra or missing words in the input, including unique or larger words. Additional fields have a minimal impact on confidence if they mismatch or are missing in the result.
- Selecting the Restrictive option makes Pascal quite strict, allowing fewer discrepancies and displaying only results that closely match the screened entity's information. This option has a low tolerance for spelling mistakes in names and aliases, leading to partial matches with high similarity. It permits very limited or no extra or missing unique or larger words, though some common words may be allowed. Additional fields have a significant impact if they mismatch or are missing compared to the screened information.
- The Balanced option offers a middle ground between flexibility and precision. It allows for some differences between the screened entity and the results while still maintaining a high level of precision. Minor spelling variations in names and aliases are accepted, leading to partial matches where slight differences are present. This option allows for the inclusion or omission of non-unique words, but not unique or larger ones. Additional fields have a moderate impact if they mismatch or are missing compared to the screened entity's information.
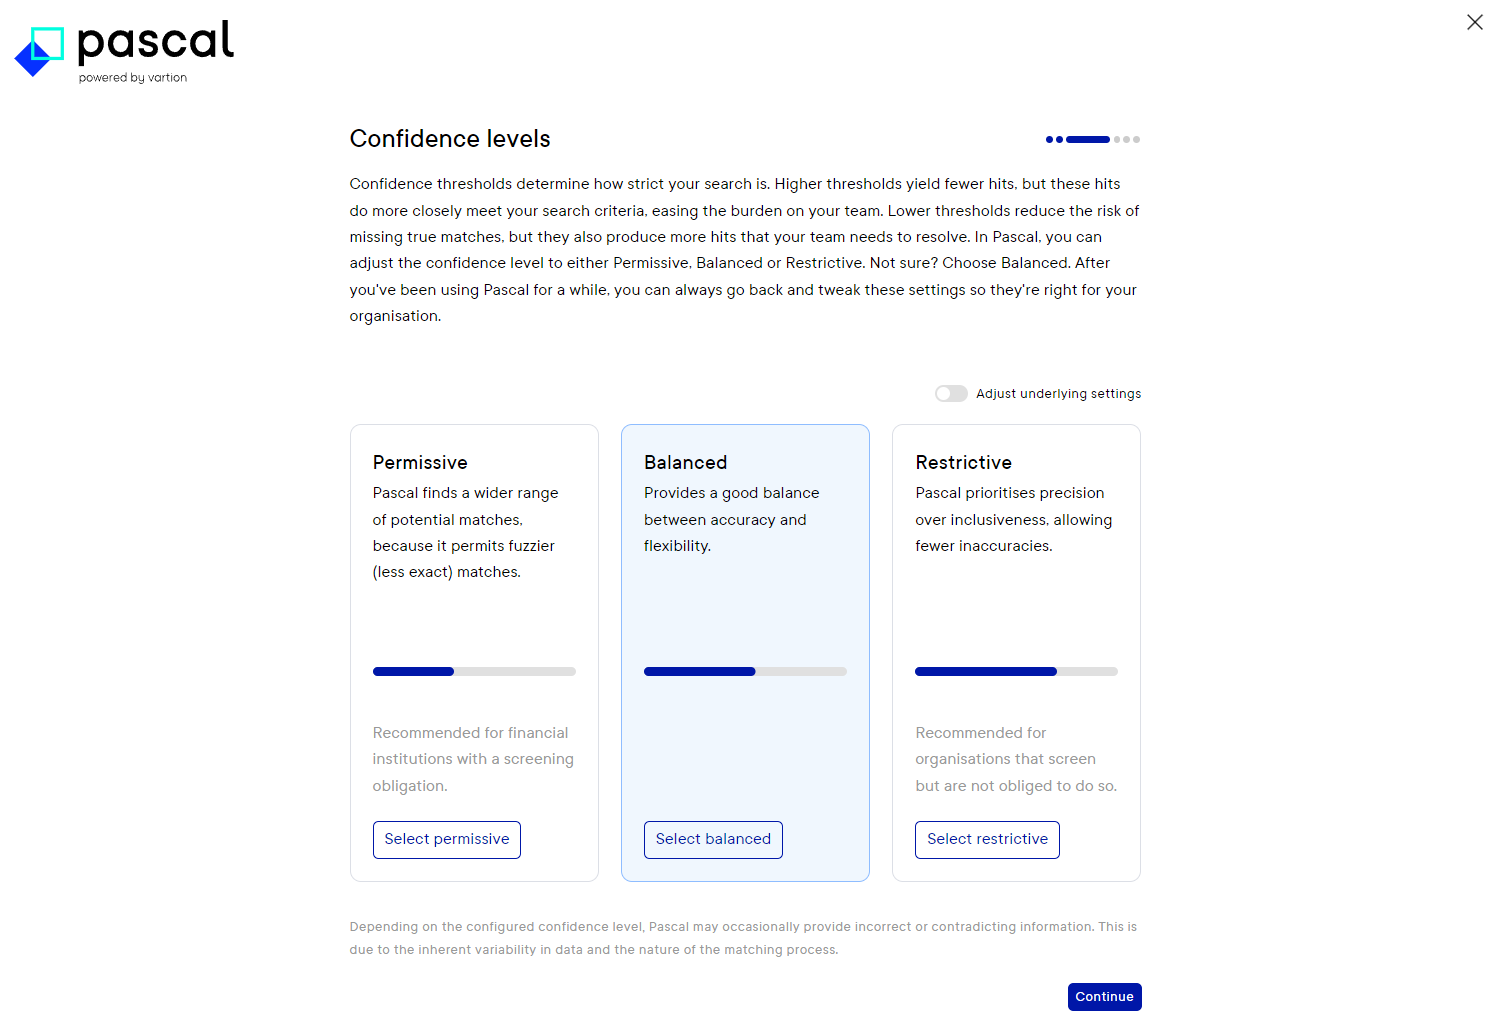
These confidence levels are not in comparison between sources, but rather composed by comparing confidence levels and results within a source.
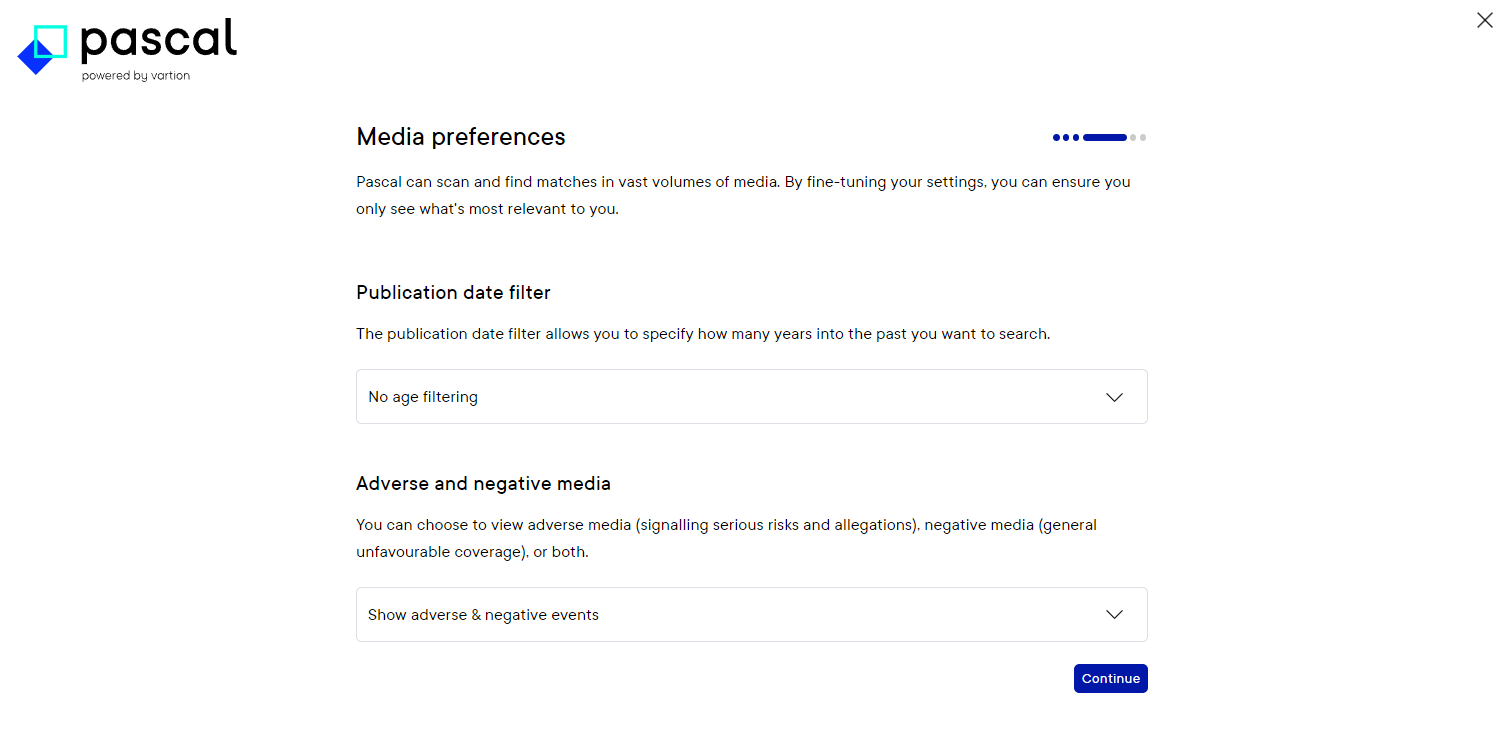
Next, the Media preferences are covered. On this page, you can specify if you would like Pascal to consider all media in the database regardless of the publication date. Or to specify until how many years in the past published articles will be taken into account.
The Adverse and negative media option, refers to the type of bad press you want Pascal to focus on. Here, you can choose for Show adverse & negative events, Show only adverse or Show only negative events.
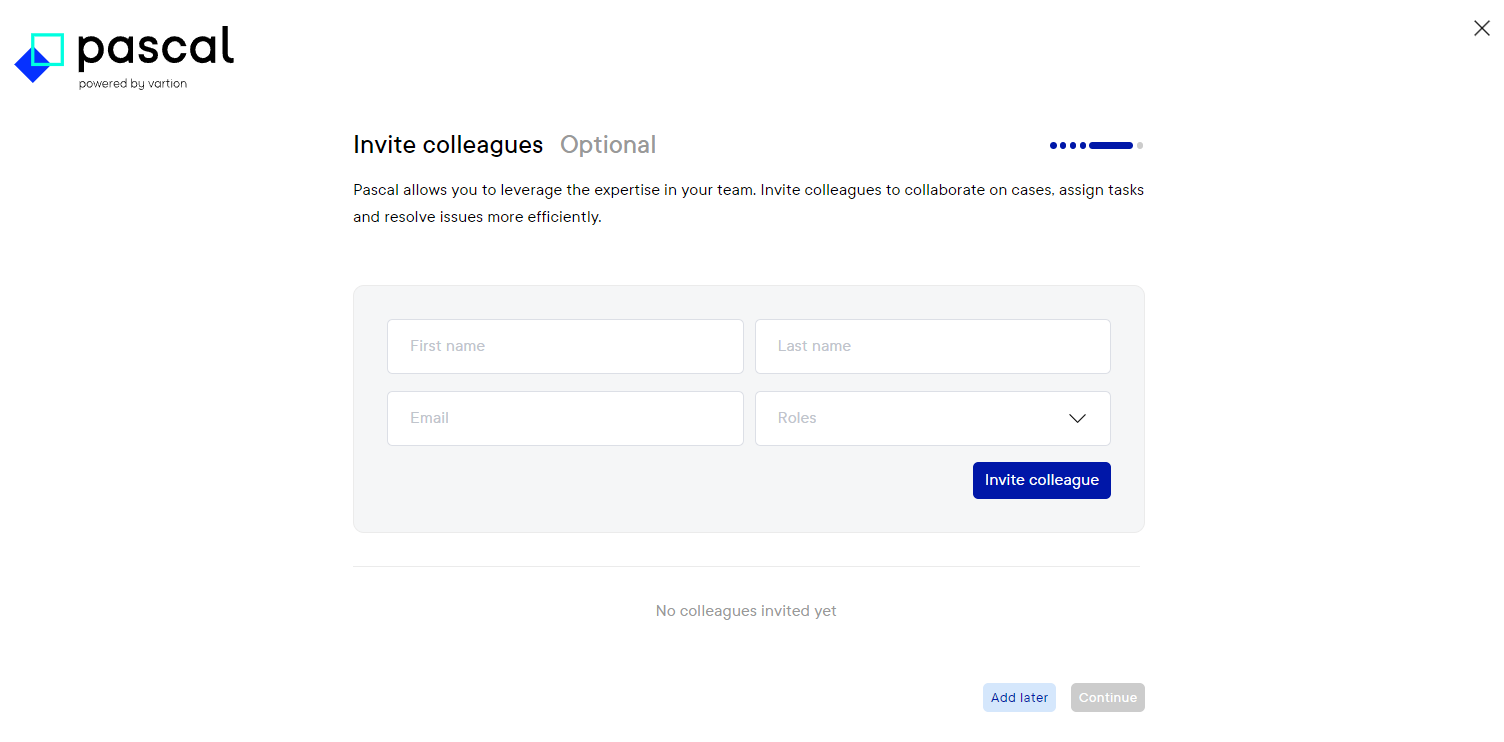
After the Media preferences, Pascal provides the option to directly add additional users to the system on the Invite colleagues page. As this is optional, this step can be skipped with the Add later button. Inviting users can later be done in the Organisation Settings in the tab Users.
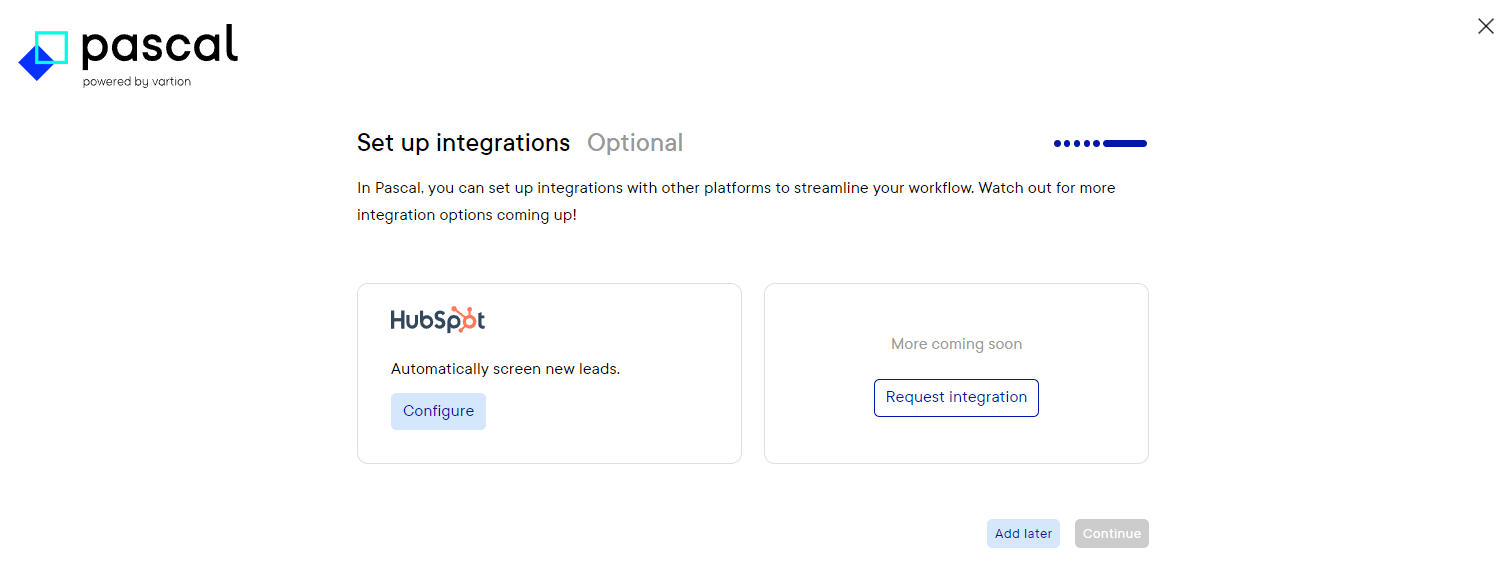
Lastly, the option to add an integration is presented. Here, the option to integrate HubSpot with Pascal is available. Other integrations are being added at a later stage. Optionally, you can request a specific integration. Which will inform us of your interest and allows us to focus on integrations most important to our users.
If at any time you want to revisit Pascal's configuration, all settings can be found in the Screening Settings section of Pascal:
- Monitoring frequency: can be found in the Screening Settings in the tab Policies. Here, for each source the monitoring frequency can be updated.
- Confidence levels: can be found in the Screening Settings in the tab Policies. Here, for each source the confidence threshold can be updated.
- Media preferences: can be found in the Screening Settings in the tab Policies. Here, within the Media filters section, the publication date filter and negative & adverse media preferences can be changed.
- Invite colleagues: can be found in the Organisation Settings in the Users tab. Here, new users can be invited by clicking Invite users.
- Integrations: can be found in the Organisation Settings in the Integrations tab. Here, among others integrations for HubSpot and Microsoft single sign in are possible.