Migrate to Pascal Screening
Everything about migrating clients to Pascal and setting up accounts.
- How to add users to Pascal
- How to create groups in Pascal
- How to prepare case importing files
- How to import cases in Pascal
- How to import users in Pascal
- Bulk case edit actions
How to add users to Pascal
This documentation, including images, videos and text, is accurate as of Version 5.12 of Pascal.
We strive to keep our documentation up to date with each release to ensure it remains a reliable resource for our users. However, given the dynamic nature of our software development, there might be instances where changes introduced in subsequent versions are not immediately reflected in this documentation. We encourage users to refer to the latest release notes and to use the feedback mechanism for any discrepancies or requests for clarification.
To invite a user to your Pascal environment, follow the below steps:
- Click on your initials in the top right corner.
- Select Settings next to the environment name.
- Navigate to the Users page in the Organisation section.
- Select the Invite user button.
- Fill in the required information and select Apply.
A user can be added to an organisation by an organisation owner or admin.
Once the new user has been created Pascal will send an email to that user that will allow them to activate their account. Additional information, such as user role, can be added to the account by clicking the Pen icon, after they have accepted the invitation to the environment.
It is also possible to import multiple new users at once via bulk importing:
- Click on your initials in the top right corner.
- Select Settings next to the environment name.
- Navigate to the Import users page in the Organisation section.
- Upload the file in the correct file format containing user information.
- If you are unsure about the file format, a preview can be downloaded by selecting CSV or JSON on this page, depending on your preferred file type.
- Check the presented information, and click on the Import button when all displayed details are correct.
How to create groups in Pascal
This documentation, including images, videos and text, is accurate as of Version 5.12 of Pascal.
We strive to keep our documentation up to date with each release to ensure it remains a reliable resource for our users. However, given the dynamic nature of our software development, there might be instances where changes introduced in subsequent versions are not immediately reflected in this documentation. We encourage users to refer to the latest release notes and to use the feedback mechanism for any discrepancies or requests for clarification.
An organisation owner or admin can create groups in the Pascal environment with the following steps:
- Click on your initials in the top right corner.
- Select Settings next to the environment name.
- Navigate to the Groups page in the Organisation section.
- Click on the Add Group button.
- Fill in the group name and add the users to the group.
- Select the Apply button.
A new group has now been created.
How to prepare case importing files
This documentation, including images, videos and text, is accurate as of Version 6.6 of Pascal.
We strive to keep our documentation up to date with each release to ensure it remains a reliable resource for our users. However, given the dynamic nature of our software development, there might be instances where changes introduced in subsequent versions are not immediately reflected in this documentation. We encourage users to refer to the latest release notes and to use the feedback mechanism for any discrepancies or requests for clarification.
Cases in Pascal can be imported in CSV, XLSX and JSON file formats.
Case fields to fill
Pascal consists of Person and Business cases. Each case has a set of common fields (case type, confidence, assignee, description, client), that makes it easier for Pascal to identify and organise them in the system. Each of these fields is described below.
Generic fields:
- type - Person or Business. This indicates what type of case you like to register on that line. This column should be filled in for all case types, as this field is mandatory.
- confidence - Relative or Exact. This tells Pascal if the case should be searched relative or exact. The default value is Relative if this field is not filled in.
- assignee - email address of a user in your Pascal environment. This column should be filled in for all case types. If no email address is provided, Pascal will leave this case unassigned.
- clients_1 - name of the client you want the case to be a part of. This column can be filled in for all case types. (a second client can be added by creating a new column called clients_2. If more clients should be added to a case, the column clients_3 can be added and so on).
- description - any additional relevant information or notes about the case.
There are also fields that identify the entity with various kinds of descriptive information. Person and Business cases do not have all fields in common. Both case types include a name, alias names and additional term fields.
- Business check related fields:
- name - any name input, up to a maximum of 190 characters. This will be the name of the case added to Pascal. This column should be filled in as this field is mandatory.
- aliases_1 - name of the alias you want to add to the case. This column can be filled in for all case types. (a second alias can be added by creating a new column called aliases_2 and the same goes for more aliases)
- country - any country name, in ISO_3166 format.
- company_number - any text input, up to a maximum of 190 characters.
- address - any input up to a maximum of 190 characters.
- additional_terms_1 - name of the additional term you want to add to the case. This column can be filled in for all case types. (a second additional term can be added by creating a new column called additional_terms_2 and the same goes for more additional terms). The field refers to a keyword or a phrase, that may link the entity.
Preparing a CSV file
Use the CSV template file that you can download from the Import cases tab in the Screening settings page. The easiest way to edit the CSV file is in a plain text editor, like notepad, or Excel.
To open a CSV file in Excel, the following steps should be followed:
- Open a new Excel document.
- Navigate to the Data tab.
- Click on From Text/CSV.
- Navigate to the CSV file you would like to open and open it.
- Click on Transform Data.
- Under the tab Transform select User First Row as Headers if the column names are displayed as Column1, Column2, Column3, etc. If the column headers are already type, confidence, name, etc., this step should be skipped.
- Select the File tab in the left upper corner and click on Close and Load.
Excel should now have opened the CSV file correctly, with the correct headers. After completing the file, the file should be saved as the file type CSV UTF-8(*.csv) (or another suitable CSV file format) and named like import_cases.csv for example.
When editing a CSV file in a plain text editor, it is important to check that every value is separated with a comma. After completion, the file should be saved as a CSV file, for example import_cases.csv.
How to import cases in Pascal
This documentation, including images, videos and text, is accurate as of Version 5.12 of Pascal.
We strive to keep our documentation up to date with each release to ensure it remains a reliable resource for our users. However, given the dynamic nature of our software development, there might be instances where changes introduced in subsequent versions are not immediately reflected in this documentation. We encourage users to refer to the latest release notes and to use the feedback mechanism for any discrepancies or requests for clarification.
To import multiple cases into Pascal at once, you can upload a CSV, Excel or JSON file with the cases. Which makes converting existing cases into Pascal much easier.
Only users with owner or admin rights can perform the action to import cases.
- Click on your initials in the top right corner.
- Select Settings next to the environment name.
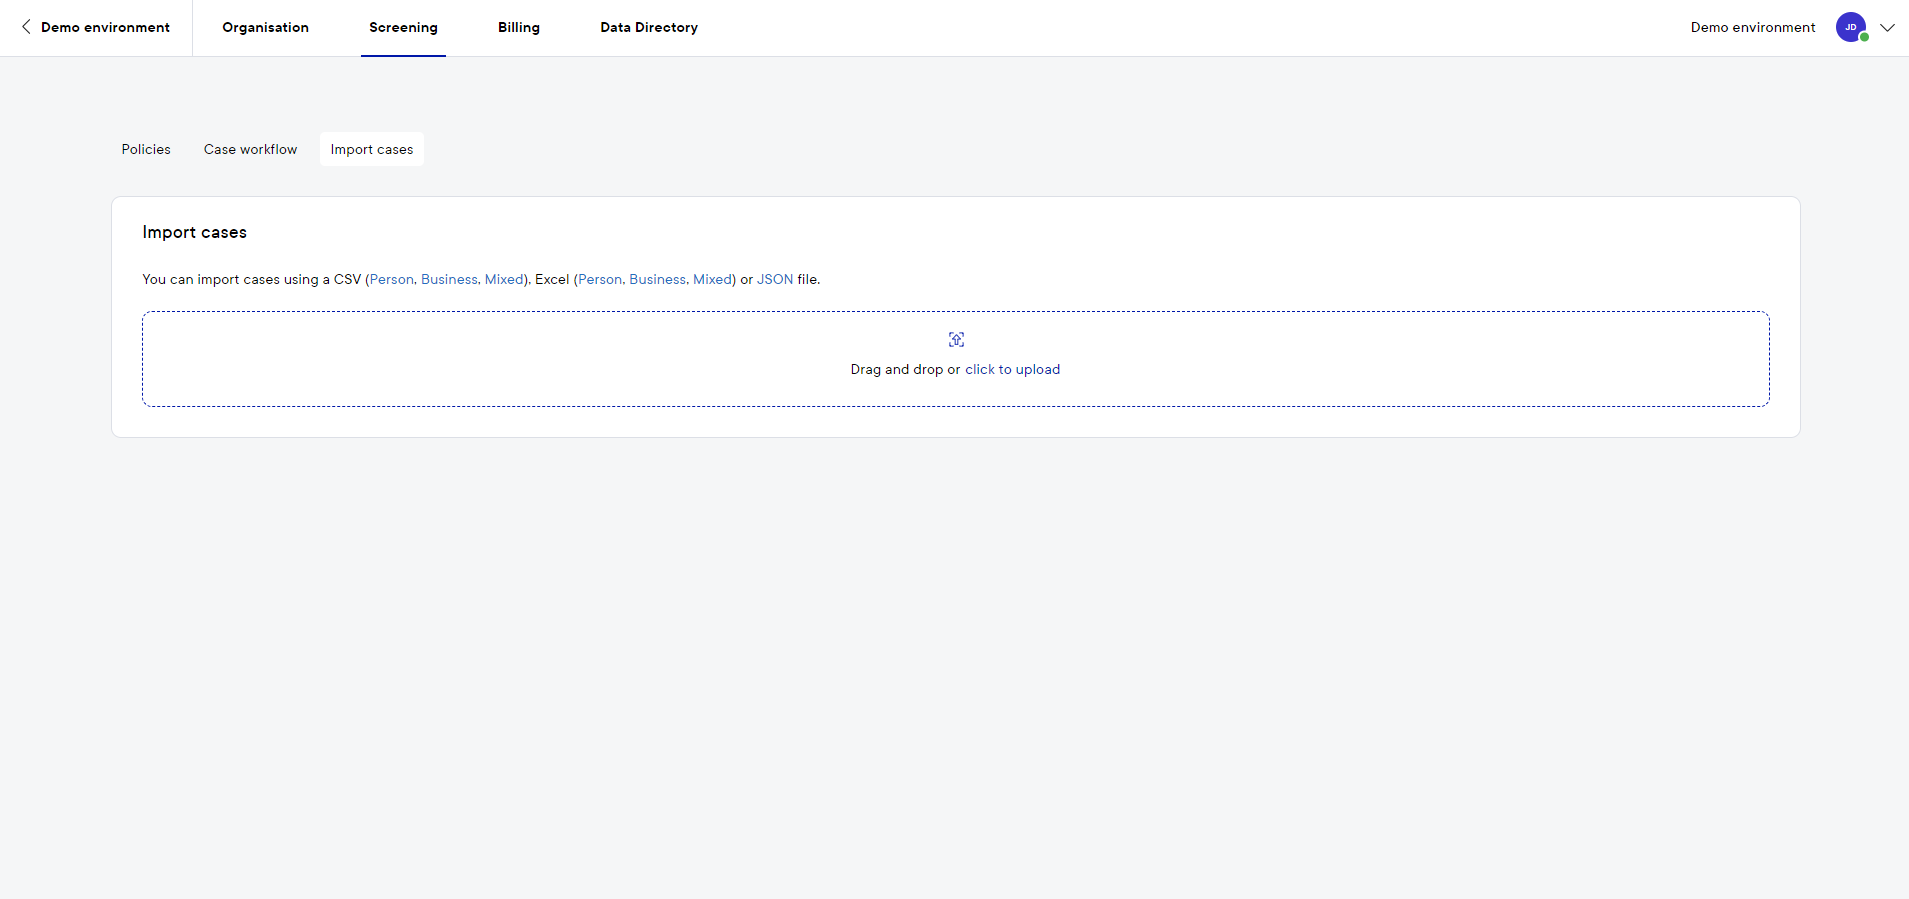
- Click on the Screening tab and open the Import cases page.
- On the Import cases page, you can get a template file for case importing. If you have an existing file, you can upload it into the designated area by dragging the file in that area or selecting the file in your file explorer after clicking on click to upload.
- The cases from the file are presented in the interactive table. The cases are assessed by automatic validation. If there are rows with invalid values, you can select those rows using the Filter rows selector above the table. You can review the cases and make final adjustments before uploading them into the account.
- Values can be changed directly in the table and replaced at once for multiple rows.
- There are dropdowns for multiple columns, where you can select a value directly from the list.
- The date format can be adjusted if needed.

- If all displayed information is correct, you can click on the Import button.
When large files are being imported, it can take some time before the system is done with the import.
How to import users in Pascal
This documentation, including images, videos and text, is accurate as of Version 5.12 of Pascal.
We strive to keep our documentation up to date with each release to ensure it remains a reliable resource for our users. However, given the dynamic nature of our software development, there might be instances where changes introduced in subsequent versions are not immediately reflected in this documentation. We encourage users to refer to the latest release notes and to use the feedback mechanism for any discrepancies or requests for clarification.
Multiple users can be added to an organisation at once by using the bulk import functionality.
This feature is only available to users with the role owner or admin.
- Click on your initials in the top right corner.
- Select Settings next to the environment name.
- Navigate to the Import users page in the Organisation section.
- Upload a CSV or JSON file which contains the following information:
- First name
- Last name
- Company email address
- A preview of the file content and any errors will be shown. Fields can be edited if needed.
- Select the Import button when all data is correct.
Once the new users have been created Pascal will send an email to each user that will allow them to activate their account.
CSV file format
The CSV file should be formatted according to the requirements and examples below. An example file can also be downloaded during the importing stage.
The CSV file requires the first row to contain the names which describes the content of each column (first_name, last_name, email). Each subsequent row contains the information that is specific to each user.
The CSV file can be created in Microsoft Excel or a plain text editor such as notepad. When working in Excel, each value should be entered in a separate cell. When entering the data through a text editor, each value should be separated by a comma or semicolon. Once all data has been added the file should be saved as a .csv.

Editing a CSV file
To open and edit a CSV file in Excel, the following steps should be followed:
- Open a new Excel document.
- Navigate to the Data tab.
- Click on From Text/CSV.
- Navigate to the CSV file you would like to open and open it.
- Click on Transform Data.
- Under the tab Transform select Use First Row as Headers if the column names are displayed as Column1, Column2 and Column3. If the column headers are already first_name, last_name and email this step should be skipped.
- Select the File tab in the left upper corner and click on Close and Load.
JSON file format
The JSON file should be formatted according to the requirements and examples below. An example file can also be downloaded during the importing stage.
A JSON file is a format in which the information for each user is stored within an object. This object consists of a property, which is comparable to a column name, coupled to a value. In this case, the properties are first_name, last_name, and email. The values are the specific details of each user.

A maximum of 100 users can be imported at once. Please split your data into smaller files if you want to import more than 100 users.
It is not possible to create multiple accounts in one Pascal environment using the same email address. Please note, that this also includes email addresses of users in the recycle bin.
Bulk case edit actions
This documentation, including images, videos and text, is accurate as of Version 5.12 of Pascal.
We strive to keep our documentation up to date with each release to ensure it remains a reliable resource for our users. However, given the dynamic nature of our software development, there might be instances where changes introduced in subsequent versions are not immediately reflected in this documentation. We encourage users to refer to the latest release notes and to use the feedback mechanism for any discrepancies or requests for clarification.
To edit multiple cases at once there is the option to mass edit cases in the Cases tab. You can, for example, assign multiple cases to another user instead of assigning them one by one. You can also delete your cases or update the status for multiple cases at once.
- To do this go to the Cases tab.
- In the right top corner, select Filter, if you want to filter on specific cases to bulk edit.
- In the right top corner, select Edit. This creates empty check boxes before each case name in the table.
- Select the cases you want to edit by pressing the empty checkbox before the case and a checkmark will appear in that checkbox. Another possibility is to use the select all option in the bar which appeared at the bottom of the screen.
- Select in the bottom what you would like to edit.
- Assign will open a dialog where a dropdown is displayed. Here you can select a new assignee. Press the Confirm button to assign all selected cases.
- Update status will open a dialog where you can choose the status of a case. Press the Confirm button to change the status of the selected cases.
- Generate reports will generate case reports for the cases you have selected.
- Delete will open a dialog confirming you would like to delete all selected cases.