How to set up your Pascal account
This documentation, including images, videos and text, is accurate as of Version 6.0 of Pascal.
We strive to keep our documentation up to date with each release to ensure it remains a reliable resource for our users. However, given the dynamic nature of our software development, there might be instances where changes introduced in subsequent versions are not immediately reflected in this documentation. We encourage users to refer to the latest release notes and to use the feedback mechanism for any discrepancies or requests for clarification.
After your account is created and you log in for the first time. Some additional settings will be presented to you, to align Pascal with your preferred configuration.
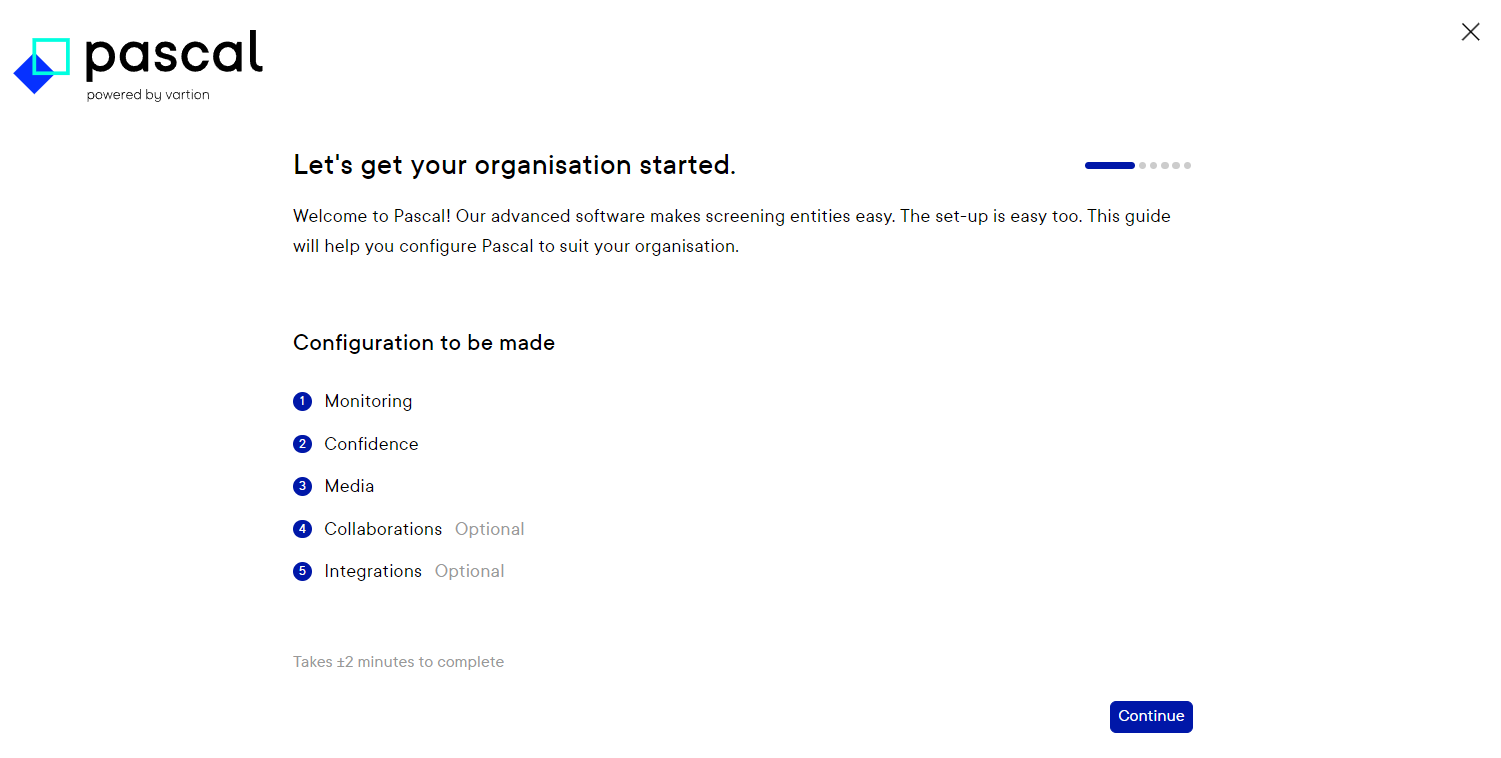
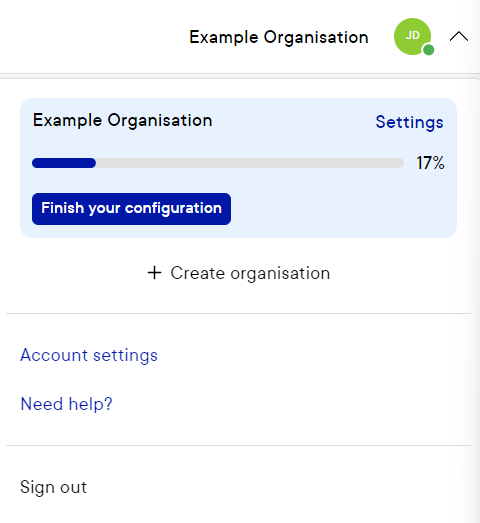
This configuration can at any time be closed, by using the cross in the top right corner. Where after it can be picked up where you left off, by clicking on your organisation name in the top right corner, and pressing Finish your configuration. Settings already configured during a previous visit, have immediately been applied to your account.
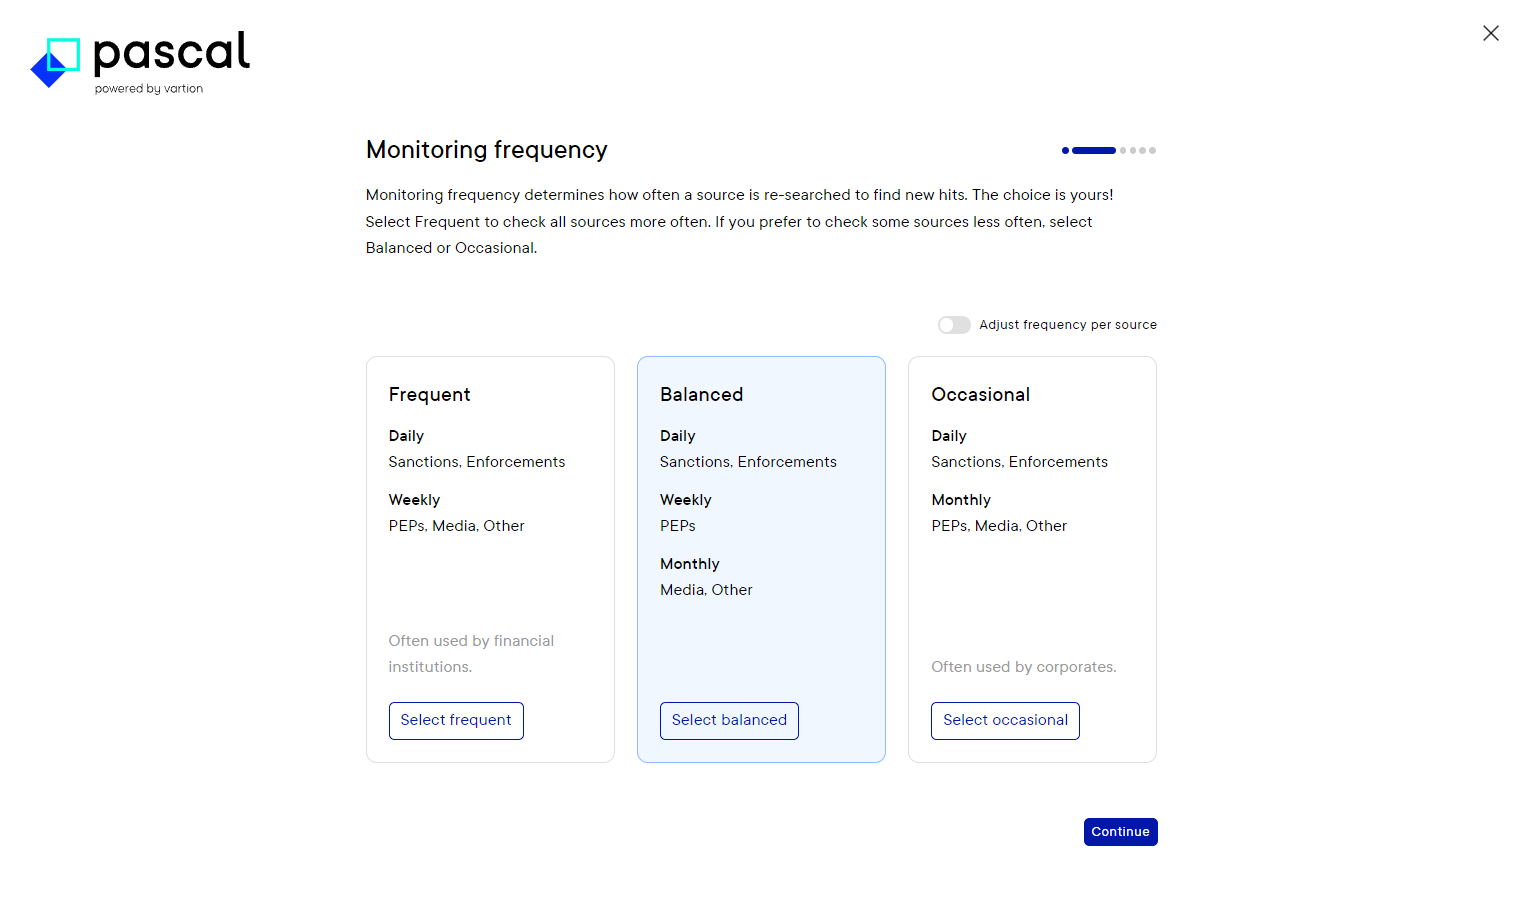
Firstly Pascal will present you with three options for monitoring screenings. By default, the option Balanced is set. Choosing the option Frequent will, compared to Balanced, search the sources Media and Other more frequently. Choosing Occasional will, compared to Balanced, search PEPs less frequent.
The frequency chosen, impacts the time in which sources of cases are searched again. Using a less frequent interval, will result in potentially finding results less prompt then a more frequent interval. However, a more frequent interval will result in potentially more results more frequent, which of course take time to evaluate.
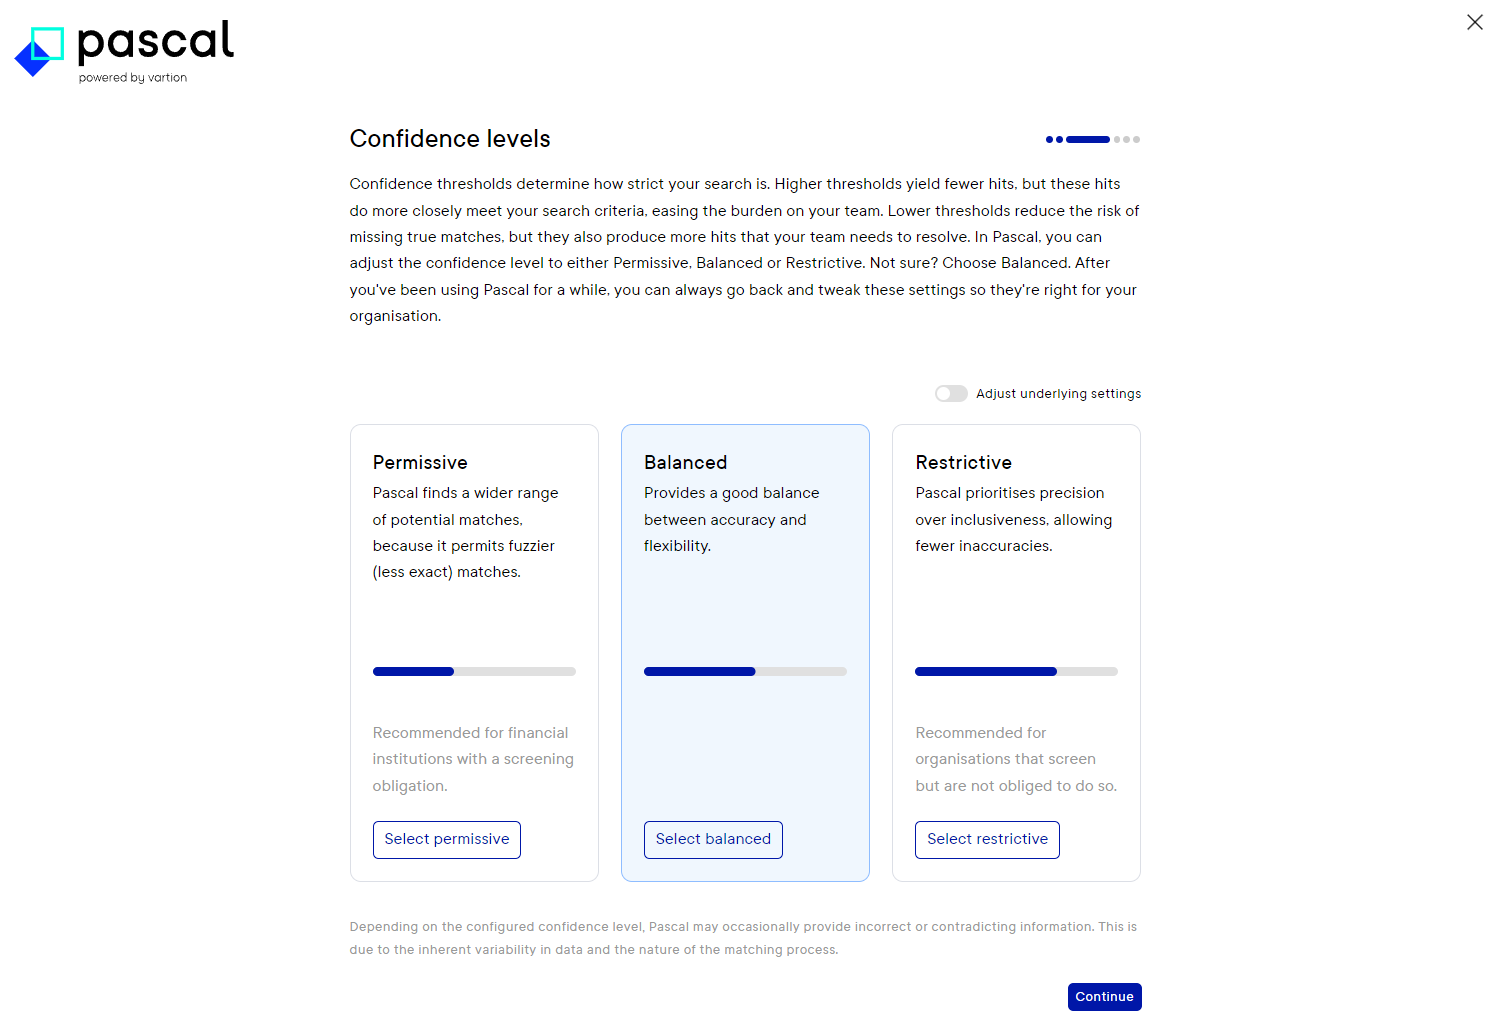
Secondly Pascal will ask which confidence thresholds you want to maintain. By default, the option Balanced is set.
- Choosing the Permissive option allows for greater flexibility in matching the screened entity with the results. This option prioritises broader matching over precision, allowing significant spelling differences in names and aliases. As a result, it may identify partial matches even when notable discrepancies exist. Additionally, this option permits the presence of extra or missing words in the input, including unique or larger words. Additional fields have a minimal impact on confidence if they mismatch or are missing in the result.
- Selecting the Restrictive option makes Pascal quite strict, allowing fewer discrepancies and displaying only results that closely match the screened entity's information. This option has a low tolerance for spelling mistakes in names and aliases, leading to partial matches with high similarity. It permits very limited or no extra or missing unique or larger words, though some common words may be allowed. Additional fields have a significant impact if they mismatch or are missing compared to the screened information.
- The Balanced option offers a middle ground between flexibility and precision. It allows for some differences between the screened entity and the results while still maintaining a high level of precision. Minor spelling variations in names and aliases are accepted, leading to partial matches where slight differences are present. This option allows for the inclusion or omission of non-unique words, but not unique or larger ones. Additional fields have a moderate impact if they mismatch or are missing compared to the screened entity's information.
These confidence levels are not in comparison between sources, but rather composed by comparing confidence levels and results within a source.
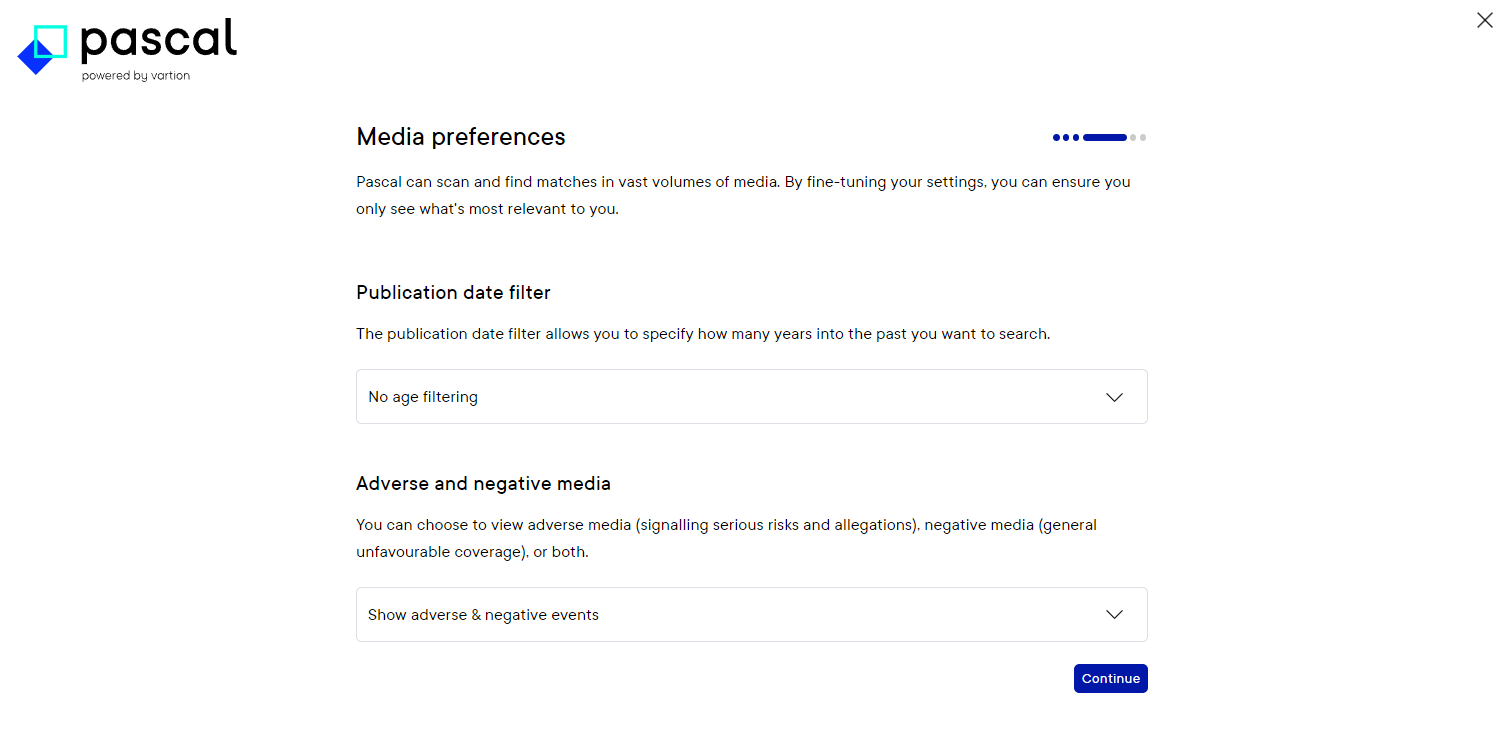
Next, the Media preferences are covered. On this page, you can specify if you would like Pascal to consider all media in the database regardless of the publication date. Or to specify until how many years in the past published articles will be taken into account.
The Adverse and negative media option, refers to the type of bad press you want Pascal to focus on. Here, you can choose for Show adverse & negative events, Show only adverse or Show only negative events.
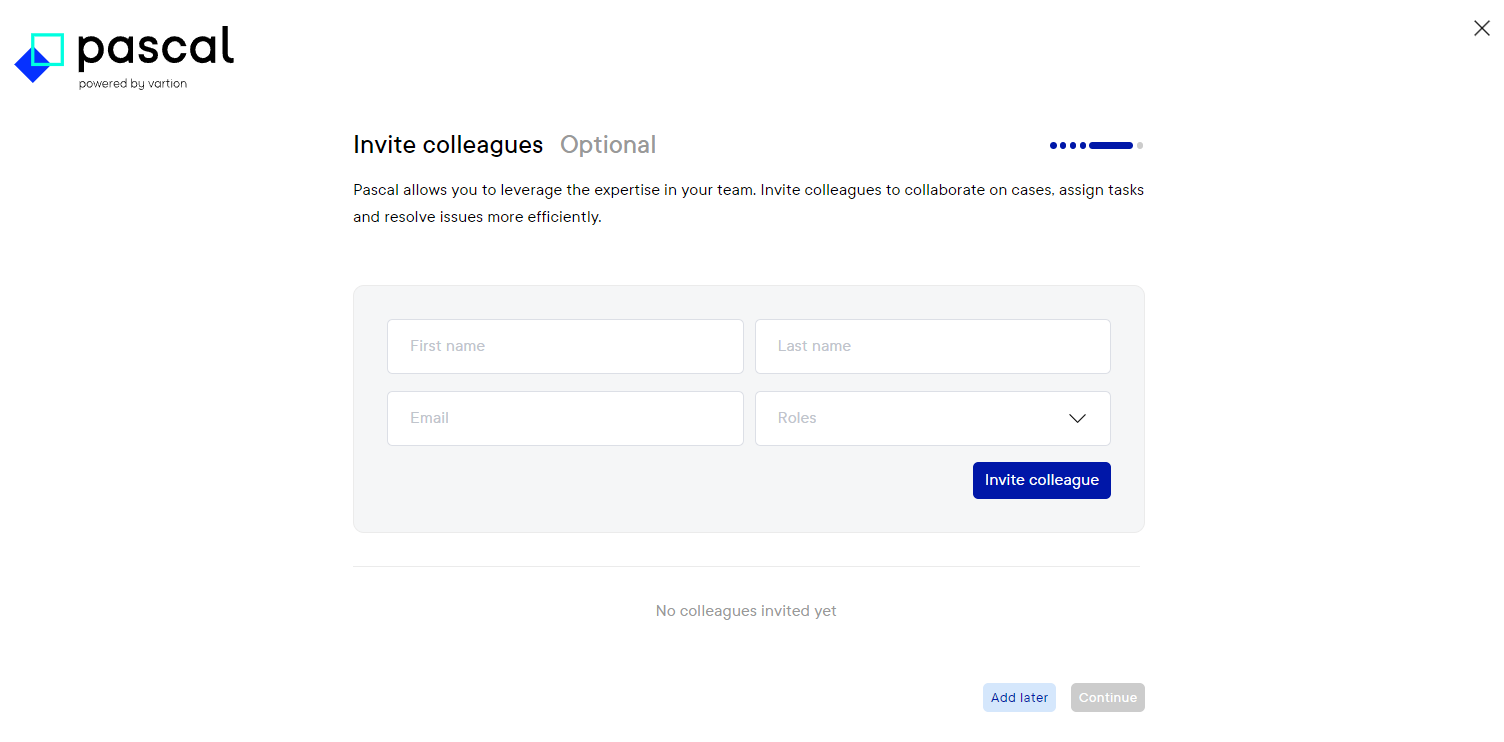
After the Media preferences, Pascal provides the option to directly add additional users to the system on the Invite colleagues page. As this is optional, this step can be skipped with the Add later button. Inviting users can later be done in the Organisation Settings in the tab Users.
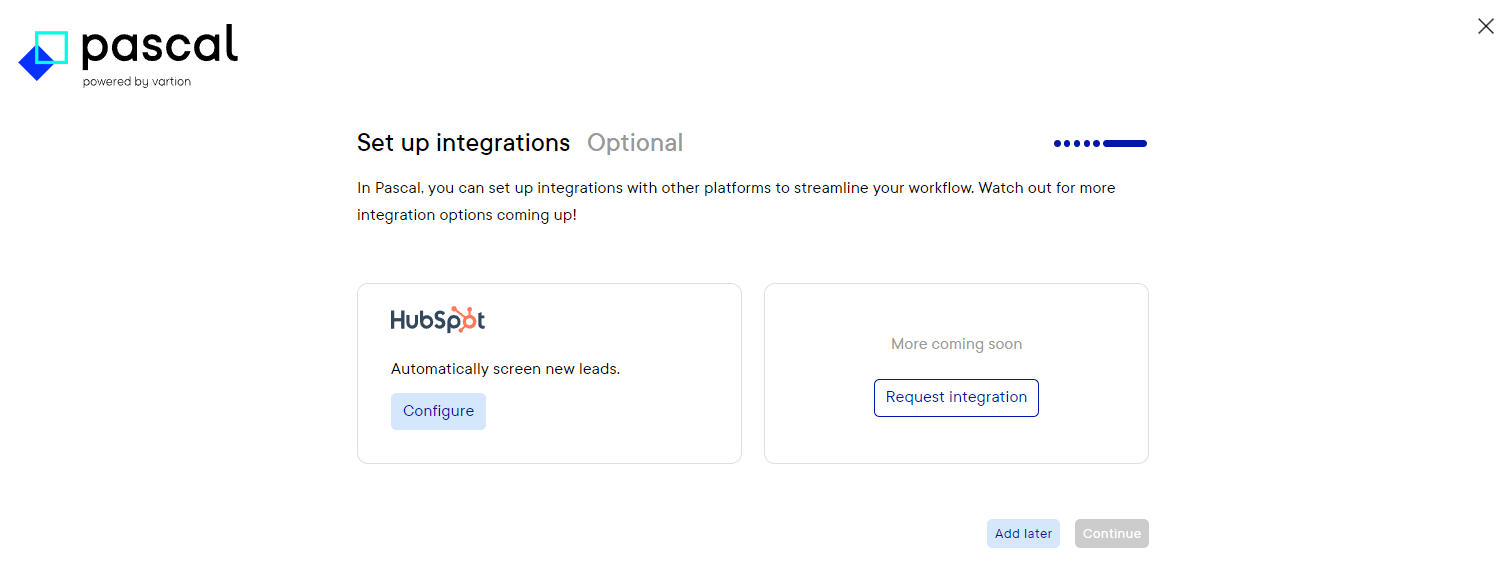
Lastly, the option to add an integration is presented. Here, the option to integrate HubSpot with Pascal is available. Other integrations are being added at a later stage. Optionally, you can request a specific integration. Which will inform us of your interest and allows us to focus on integrations most important to our users.
If at any time you want to revisit Pascal's configuration, all settings can be found in the Screening Settings section of Pascal:
- Monitoring frequency: can be found in the Screening Settings in the tab Policies. Here, for each source the monitoring frequency can be updated.
- Confidence levels: can be found in the Screening Settings in the tab Policies. Here, for each source the confidence threshold can be updated.
- Media preferences: can be found in the Screening Settings in the tab Policies. Here, within the Media filters section, the publication date filter and negative & adverse media preferences can be changed.
- Invite colleagues: can be found in the Organisation Settings in the Users tab. Here, new users can be invited by clicking Invite users.
- Integrations: can be found in the Organisation Settings in the Integrations tab. Here, among others integrations for HubSpot and Microsoft single sign in are possible.