Getting started - HubSpot
This documentation, including images, videos and text, is accurate as of Version 5.12 of Pascal.
We strive to keep our documentation up to date with each release to ensure it remains a reliable resource for our users. However, given the dynamic nature of our software development, there might be instances where changes introduced in subsequent versions are not immediately reflected in this documentation. We encourage users to refer to the latest release notes and to use the feedback mechanism for any discrepancies or requests for clarification.
Pascal is the KYC/AML screening solution that integrates seamlessly with HubSpot. With Pascal, you can perform risk-based KYC and KYB screenings on your contacts and companies, using over 700 million global data sources on Sanctions, PEPs and Adverse media. Pascal enables you to monitor your clients' status continuously and automatically from your HubSpot account, saving you time and hassle.
Before you start
Contact card
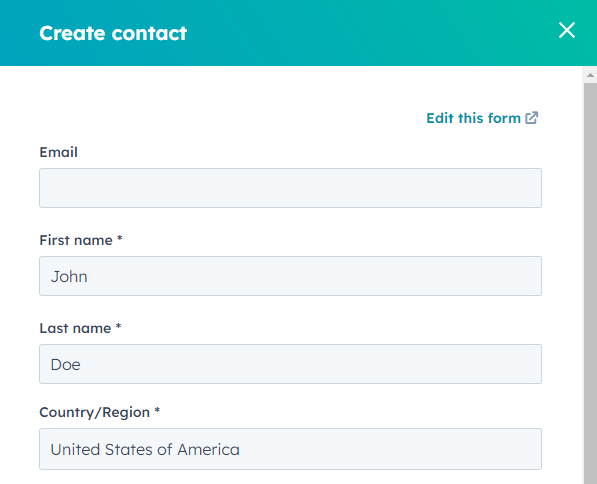
One of the ways to improve your experience with Pascal, is to add the Country/Region field to the Create contact form and make it a required field. When creating a new contact, use the contact's first and last name as they appear on the passport or other official documents.
This will help Pascal provide you with more relevant and accurate feedback based on the contact's name and location.
Company card
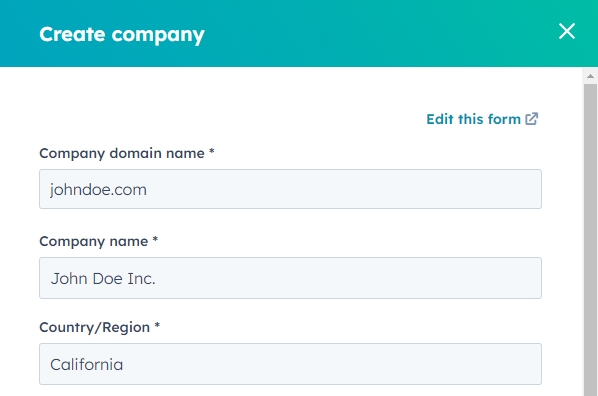
One of the important steps in setting up the Create company form is to add the Country/Region field. The company card will then show where the company is registered. Making this a mandatory field will help Pascal provide you with better and more accurate feedback based on the company's location.
When creating a new contact, use the legal name of the company as it appears on official documents. Do not rely on the company domain to fill in this field, as it might not match their correct legal name!
Screening
KYC Check pane
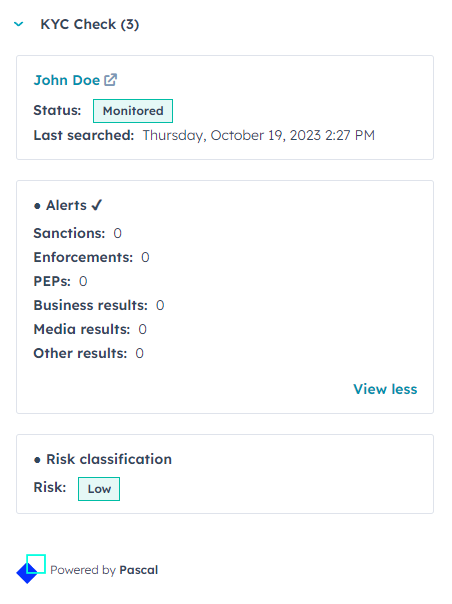
Information in the KYC Check card helps you assess the risk level of a new contact in HubSpot. It will show up on the right side of the contact or company page after you have created the entity you want to do business with.
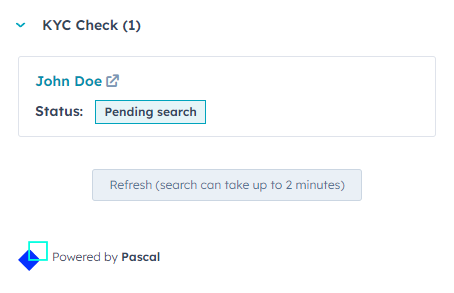
After a few minutes or after pressing the "Refresh (search can take up to 2 minutes)" button, one of the following three options will present itself.
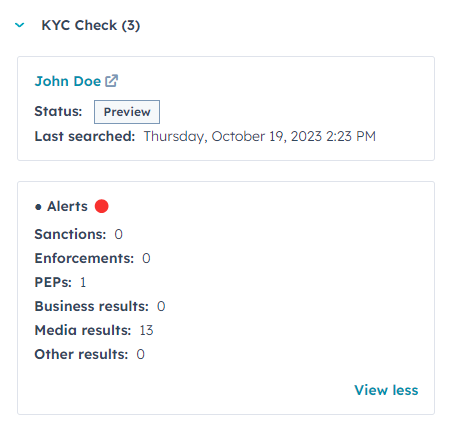
1. If you see a red circle next to Alerts, it means that some of the data you entered has triggered high risk alerts. These alerts indicate possible errors, fraud, or compliance issues that require your immediate attention. Please review the alerts and take the appropriate actions to resolve them as soon as possible.
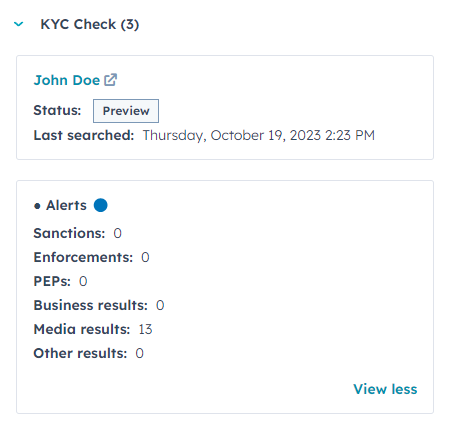
2. If you see a blue circle next to Alerts, it means some alerts, which are not high risk, have been detected based on your input. You may need to take action to resolve these alerts or prevent them from escalating.
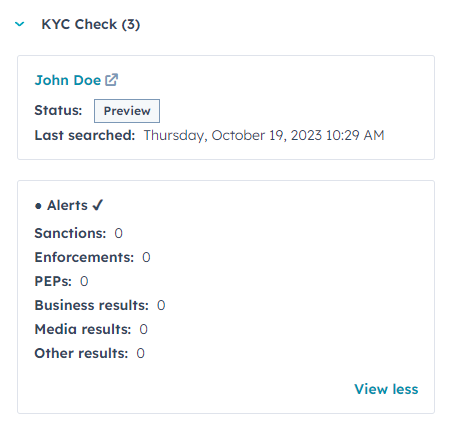
3. If you see a check mark next to Alerts, it means no alerts have been detected based on your input. No further action is needed.
Alert handling
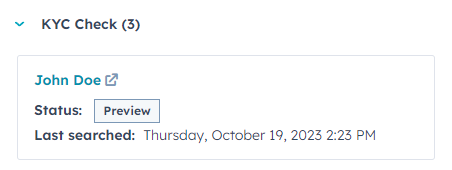
To handle alerts efficiently, you need to access the KYC Check card in HubSpot. There, you can find the contact or company name at the top of the card and click on it.
This will open a new window in Pascal, where you have the option to explore the findings and evaluate the outcomes. To unlock all the features, including the ability to monitor the contact or company, you need to create a full case by clicking on Turn info a full case.
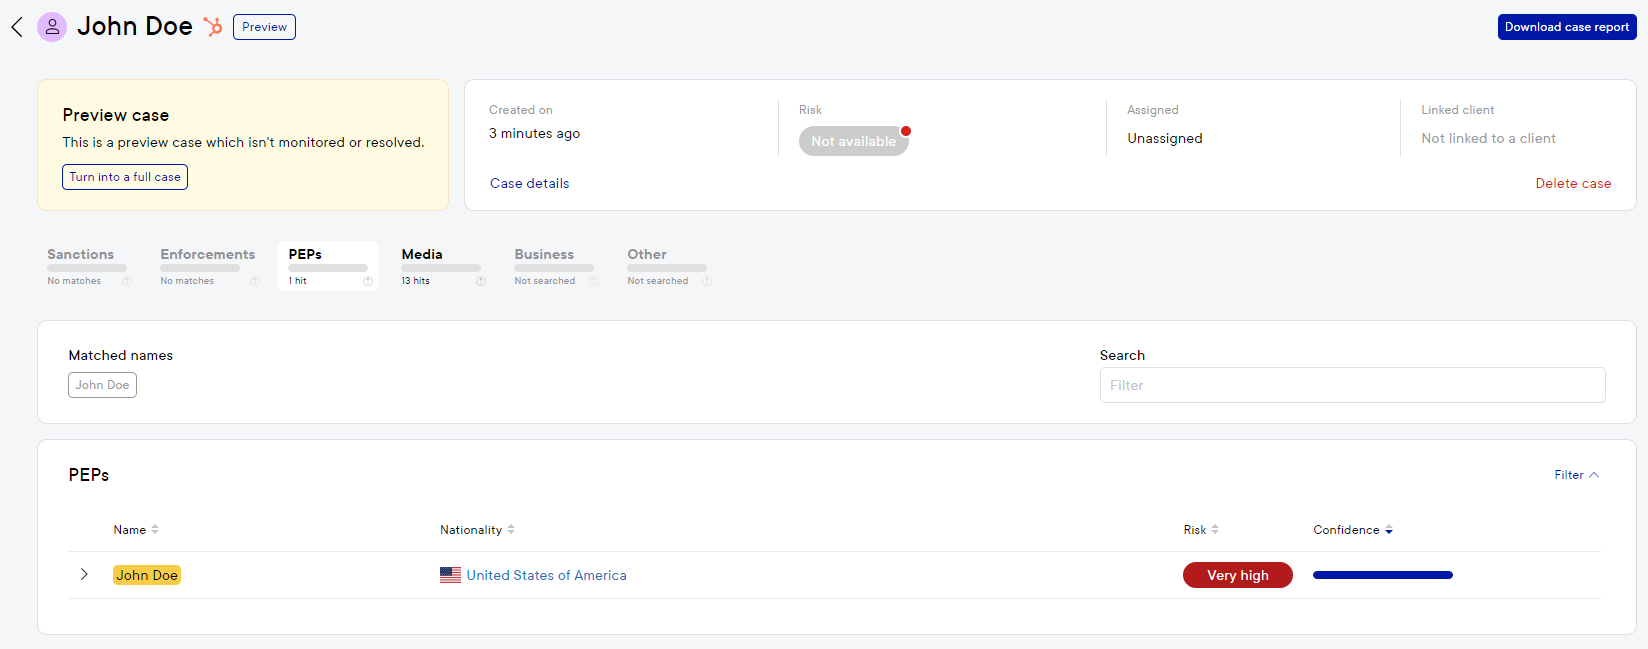
Reviewing and resolving the found alerts can be done when the case is converted to a full case. After all the alerts of a contact or company have been reviewed, the status can be changed to monitored or archived.
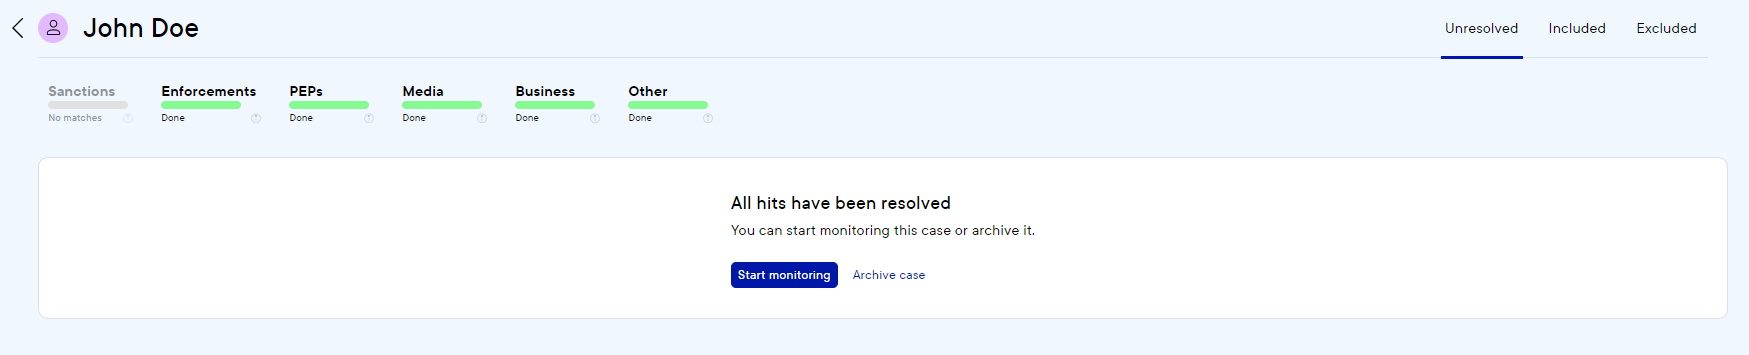
When the status is changed to monitored, the contact or company will be automatically monitored for new alerts. These new alerts will also be visible in the KYC Check card in HubSpot.
To access the product documentation and tutorials for the Pascal application, which explain its features and capabilities in detail, you can click on the lifebuoy icon on the left side of the page.
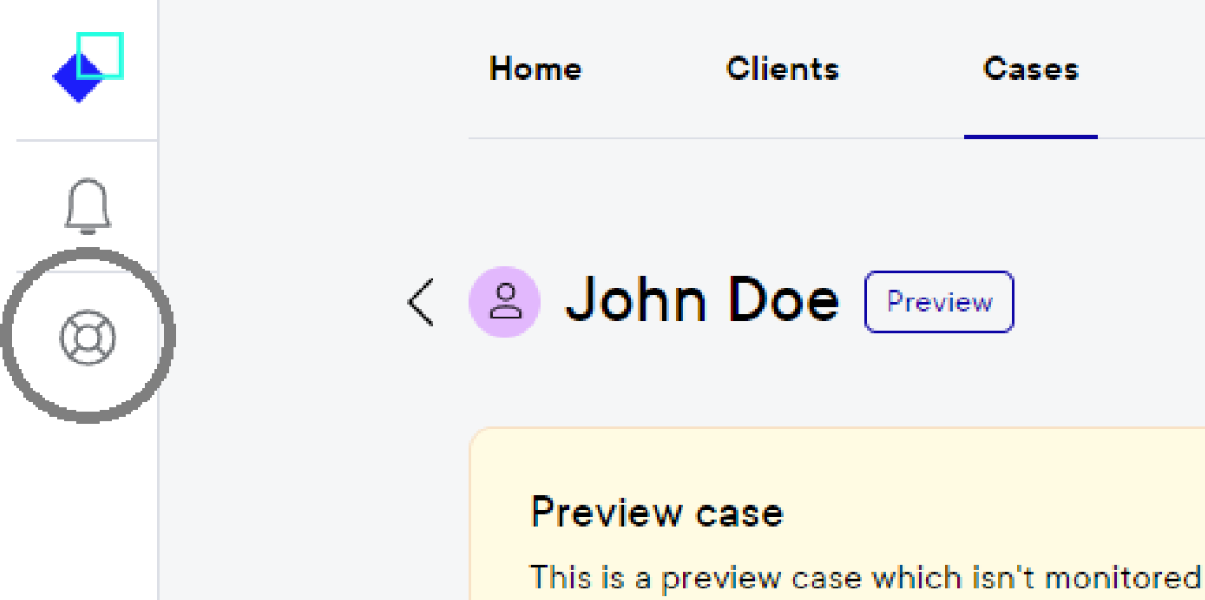
With these documents and tutorials, you will learn how to use the Pascal application effectively and explore its various features, such as evaluating and resolving alerts.